Get Started With Neat App Hub
Last updated on October 15, 2024
1. Introduction
Neat App Hub is an open ecosystem app platform that makes third-party business applications accessible on Neat devices. Neat devices will now be able to run Zoom, Microsoft Teams, or the app(s) that a business chooses on any Neat device. Accessible from Neat Pulse Platform, IT administrators have the ability to enable, deploy and manage selected applications across their Neat deployment to take advantage of the tools they already use across their teams.
This article aims to provide instructions on how to enable room and desk booking applications on Neat Pad for Scheduling and collaboration and/or workplace management applications on Neat Boards and Neat Frames. For more information on Neat App Hub, please navigate to: https://neat.no/app-hub/
Important note: As of October 2024, majority of the room booking apps (scheduling apps) have been promoted from beta to general availability. These apps are enabled for all tenants on Neat Pulse Platform.
However, collaboration and workspace apps are still in beta and being rolled out across all the tenants over the upcoming weeks. If your tenant does not show an app you are looking for, please get in touch with your Neat sales representative/product specialist or submit your request via this form.
The topics covered in this article are as follows;
- 2. Pre-requisites for deploying Neat App Hub
- 3. Instructions to enable apps for your Neat Pulse Platform tenant
- 4. Understanding the Difference Between Browser and Custom Web Apps
- 5. How to get help for Neat App Hub
- 6. List of known issues
Note: In this article, ‘Neat App Hub’, ‘Neat Pulse App Hub’ and ‘App Hub’ are used interchangeably.
2. Pre-requisites for deploying Neat App Hub:
- An account on a Neat Pulse Platform tenant with the Neat App Hub beta enabled .
- Neat devices dedicated for use on this, which must be connected to the network and able to connect to the Neat Pulse Platform.
- Important note: Devices used to run apps as part of Neat App Hub are unable to run Zoom or Microsoft Teams. In order to go back to these applications, you will need to factory reset your devices and choose Zoom or Microsoft Teams during installation.
3. Instructions to enable apps for your Neat Pulse Platform tenant
- Step 1: Log into your Neat Pulse Platform tenant that has the App Hub enabled.
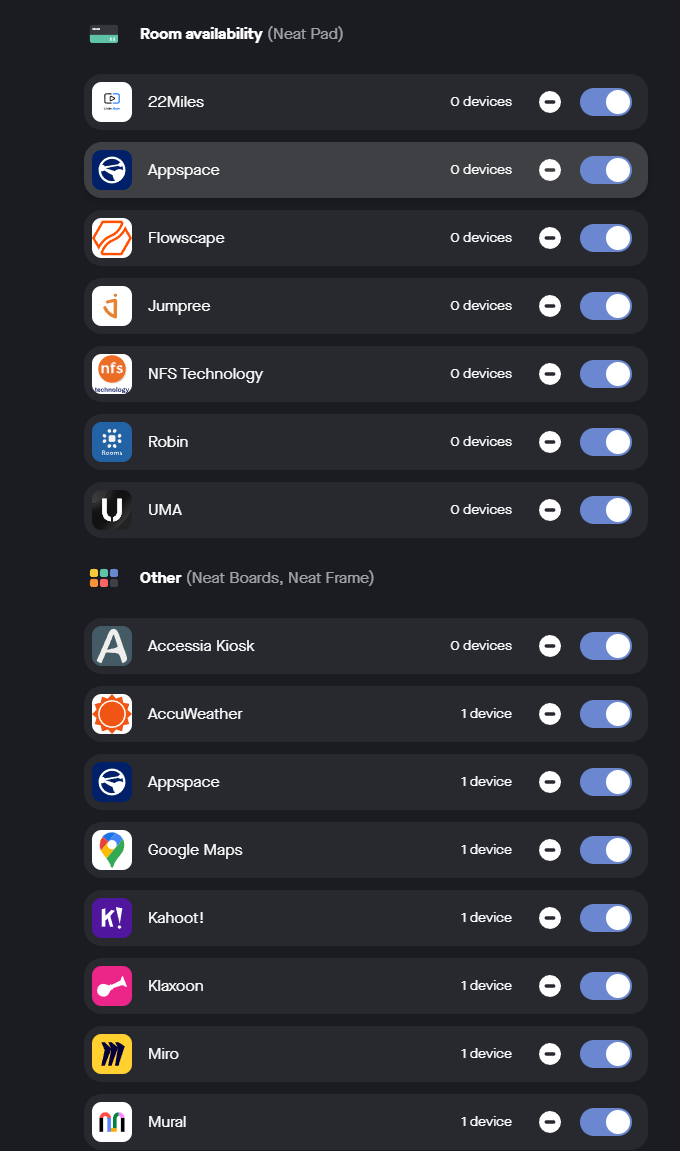
- Step 2: Click on the “Apps” menu from the left hand options and enable the applications you would like to have accessible for your tenant.
- Step 3: Go to devices and add a new device.
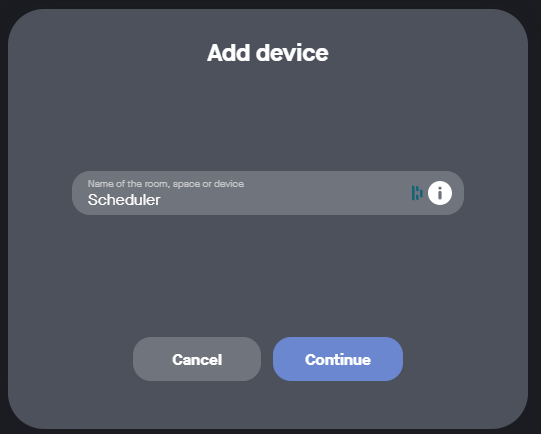
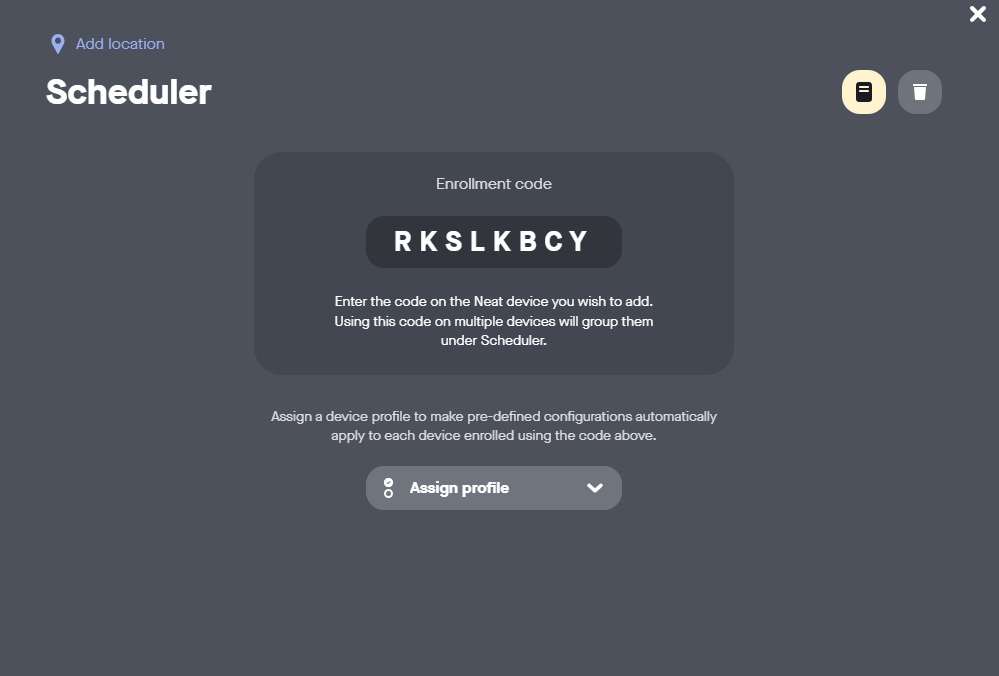
- Step 4: Make a note of the enrolment code.
- Step 5: Factory reset your Neat device if it is already in use.
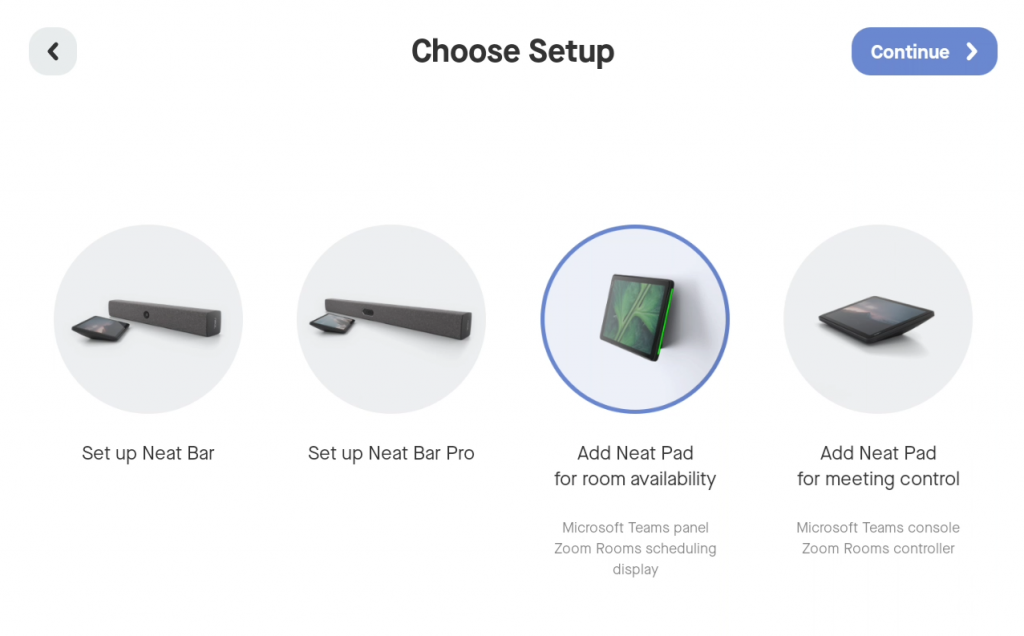
- Step 6: Follow the install wizard as appropriate for the type of device you are setting up. For example, for Neat Pad, once you get to the “Choose Setup” screen, select “Add Neat Pad for room availability” then continue with the wizard. For Neat Frame and Neat Board, you don’t need to use this step.
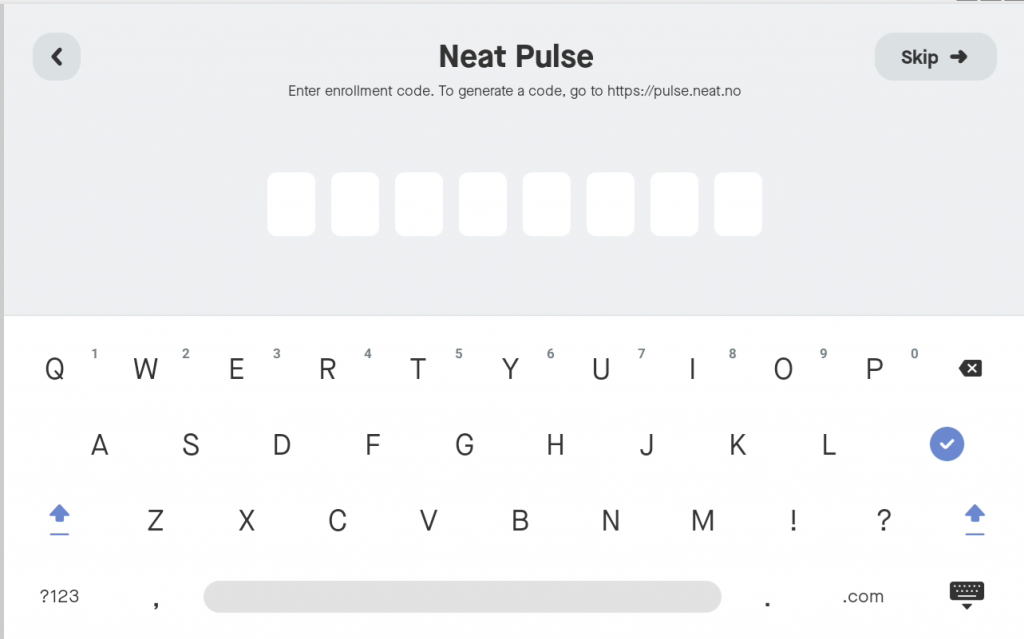
- Step 7: When you get to the Neat Pulse screen, enter the enrolment code from step 4.
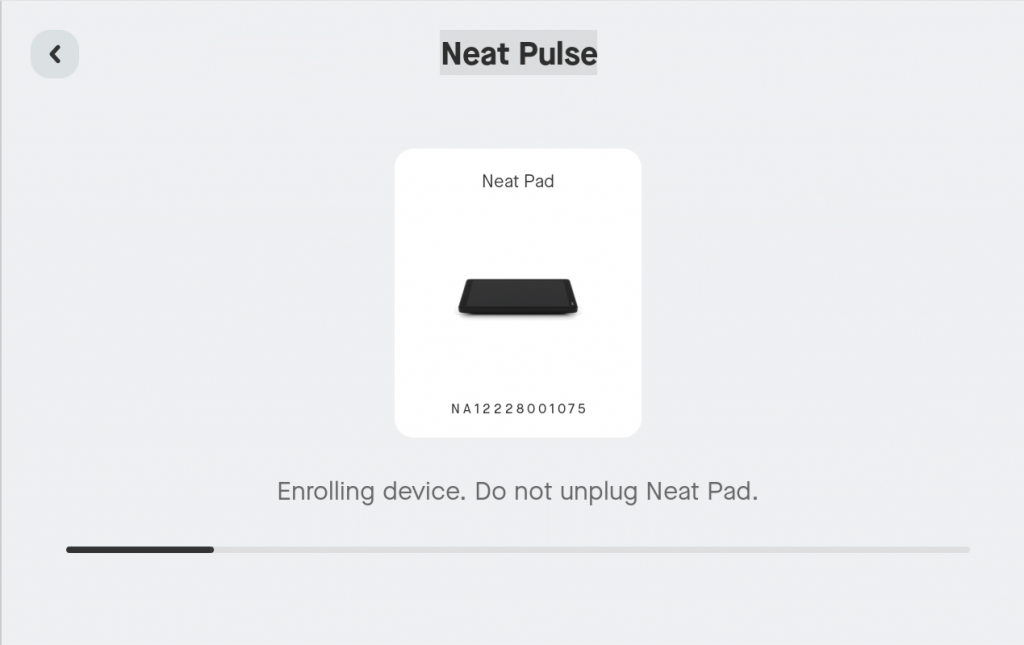
- Step 8: Wait for the device to enroll into Neat Pulse Platform, this may take a couple of minutes.

- Step 9: When selecting a platform, choose “Other”.

- Step 10(a): For a scheduling application (for Neat Pads), choose the room/desk booking provider you want:
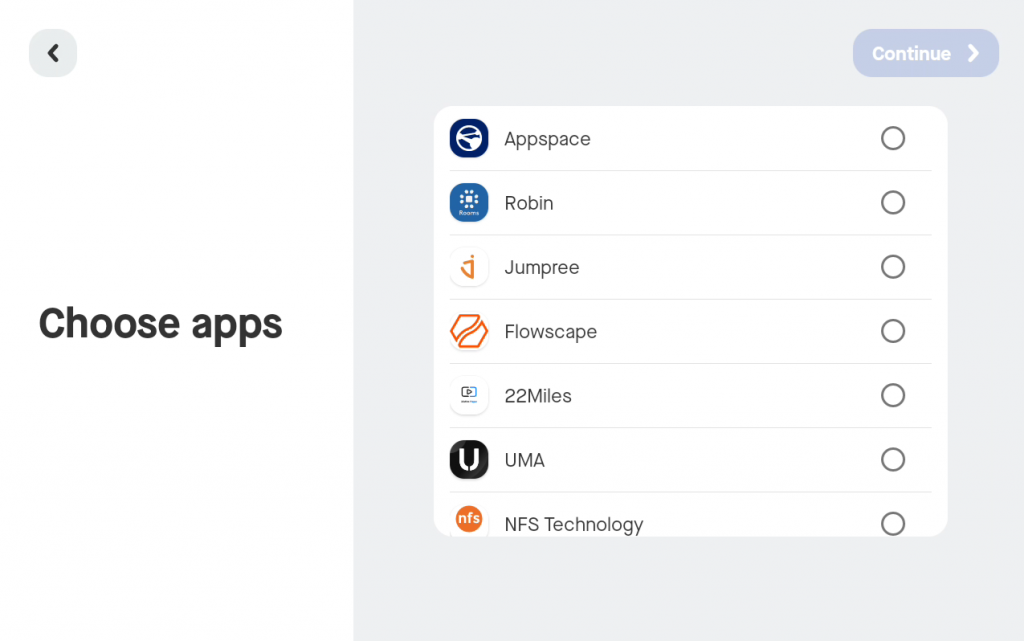
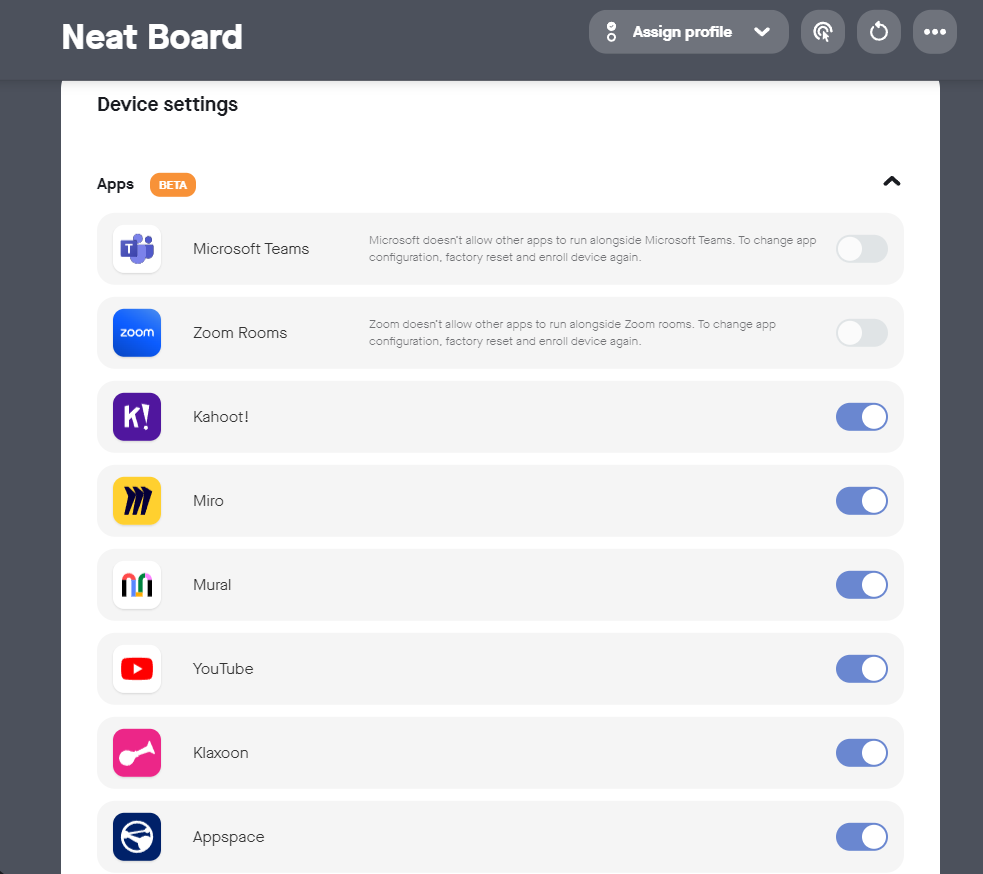
- Step 10(b): For collaboration or workplace experience apps (for Neat Boards and Neat Frames), choose the app or apps you want to use:
- Step 11: Next, tap to launch the Neat apps.
- Step 12: The chosen app or apps will now install and you can now configure these according to the app provider’s requirements.
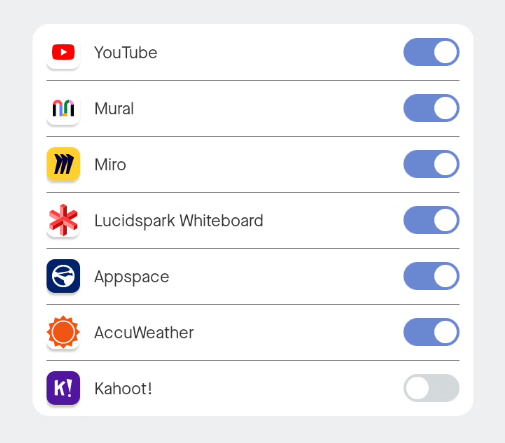
- Step 13: Further apps can be installed or uninstalled on the specific device’s page on Neat Pulse Platform:
4. Understanding the difference between browser and custom web apps
Neat devices in “App Hub mode” have access to a browser. Additionally, customers with paid Neat Pulse tenants can create “Custom Web Apps” that can be enabled on Neat devices.
While these solutions share similar core functionality, each is designed for a distinct purpose. Below is a structured comparison highlighting the differences:
| Feature | Browser | Custom web app |
| Interface | Standard browser with address bar, back/forward buttons, and tabs. *Paid tenants can configure shortcuts. | Fullscreen, locked kiosk mode with no visible browser navigation controls. |
| Control | Users can freely browse or navigate to other websites. | The webapp must provide all navigation, ensuring the user stays within a defined scope. |
| Use cases | Best for flexible browsing; when you want or expect users to explore multiple sites or resources. | Perfect for single-purpose applications where you want to ensure a focused, uninterrupted user experience. |
5. How to get help for Neat App Hub?
In order to get help with Neat App Hub, please navigate to this article: Neat App Hub: Getting help and known issues.
6. Known issues
A list of known issues can be found here: Neat App Hub: Getting help and known issues.