Managing API Keys on Neat Pulse
Last updated March 10, 2026
Contents
1. Introduction
The Neat Pulse API allows you to integrate with and build applications on top of the Neat Pulse management platform.
Note: This feature is only available to customers on a paid Pulse plan.
2. Overview
To access the API you first need to create and generate an API key. You will need to use this key and your Pulse organization ID to authenticate with the API.
- To find your Pulse organization ID, go to Settings and you will see your organization ID listed there (alternatively it is also available on your Pulse organization’s URL).
- For the full API reference, see the API guide: https://api.pulse.neat.no/docs/.

3. Step-by-step guide
3.1 Generate an API key
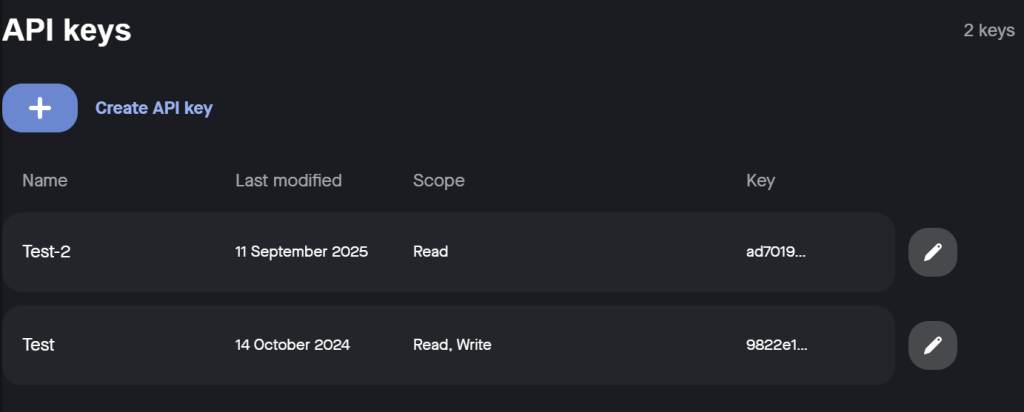
- Go to Settings -> API keys (Figure 2).
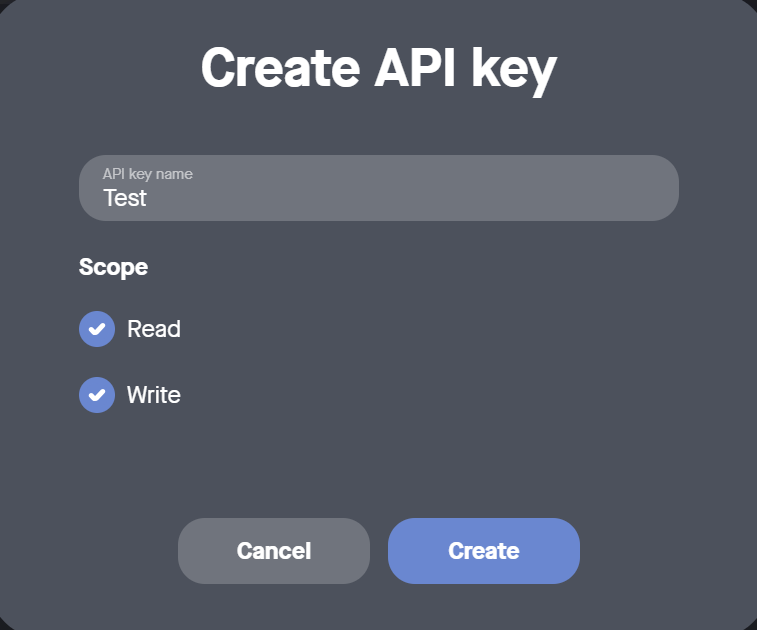
- Click Create API key.
- Name your API key, choose the scope you want (Read, Write, or both), and click Create.
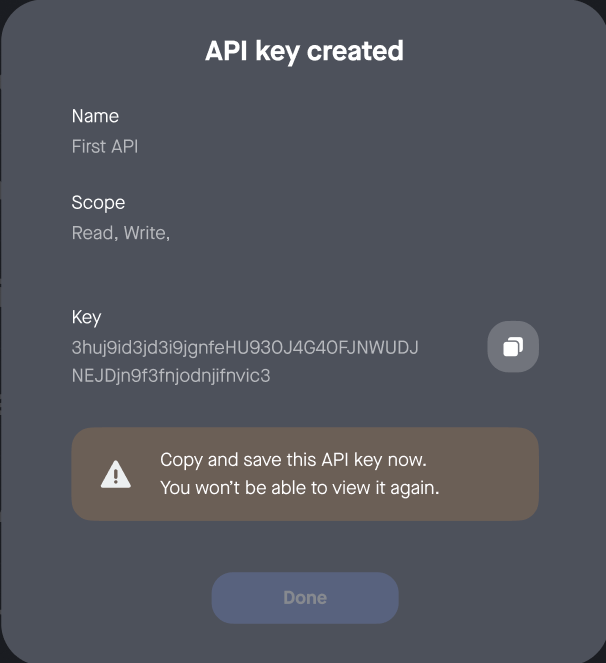
- Copy the API key using the copy icon to save the key to the clipboard (Figure 4). Note that you will not be able to view the API key again.
3.2 Manage your API keys
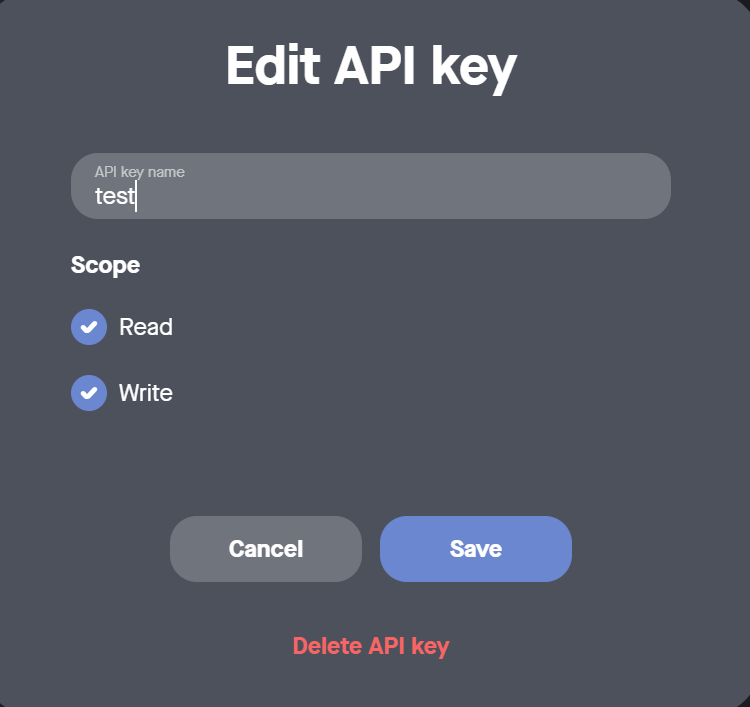
From Settings -> API keys you can click the edit button (pencil icon) to open the Edit API key pop up (Figure 5). Here, you can:
- Edit the name or scope of the API key.
- Click Delete API key to delete the API key. This will immediately revoke access to Pulse from all applications using this API token to authenticate