How to Create and Apply Profiles in Neat Pulse
Last updated November 27, 2025
Profiles allow an easy way to standardize settings for a group of devices within an organization. For example, a company may have a policy to have ‘Appearance set to ‘Dark mode” in their executive meeting rooms. Instead of individually configuring each device, Neat Pulse can create a Profile with this option set and assign it to the devices in these executive rooms.
Note: To add or edit a profile, you need to be an Owner on Neat Pulse; Admin users cannot edit or add a profile.
Contents
1. Adding a Profile
- Sign in to https://pulse.neat.no and click on the Profiles tab on the left-hand menu.
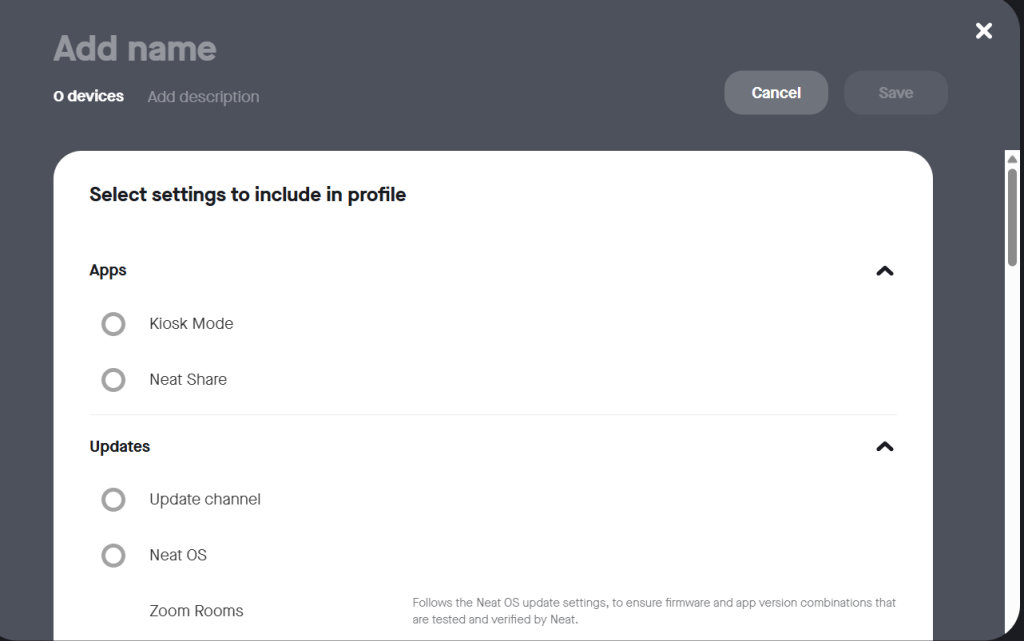
- Click on the Add Profile icon at the top of the page.
- In the pop-up box, add a name to your Profile and scroll down to enable/disable the settings listed. Click Save.
2. Assigning a profile
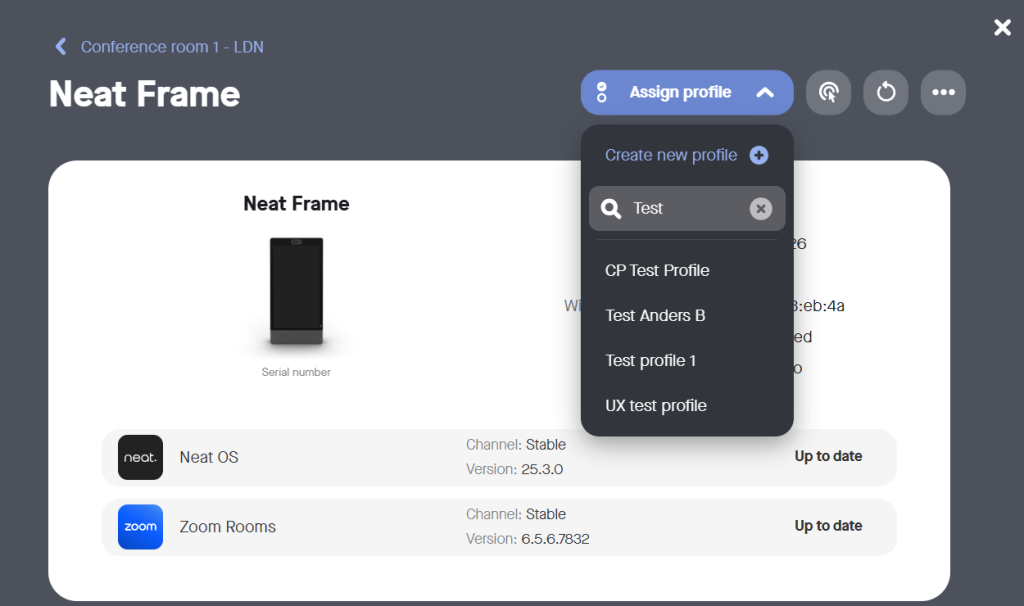
- Go to Devices and choose the space that you wish to allocate this profile to.
- Open the device and click Assign profile at the top. It will show a drop-down menu with all the profiles available to your space. (You can also create a new profile here.)
- Select the profile you wish to apply to the device.
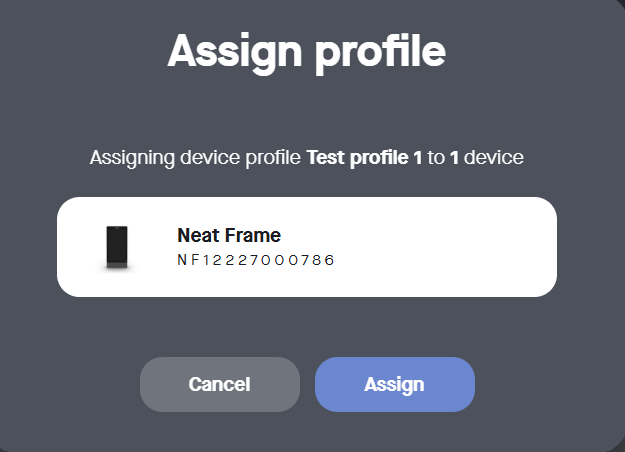
4. On the resulting Assign profile confirmation popup, click Assign.
5. Once the profile is applied, the settings implemented by the profile will then be applied to the device.
3. Editing a profile
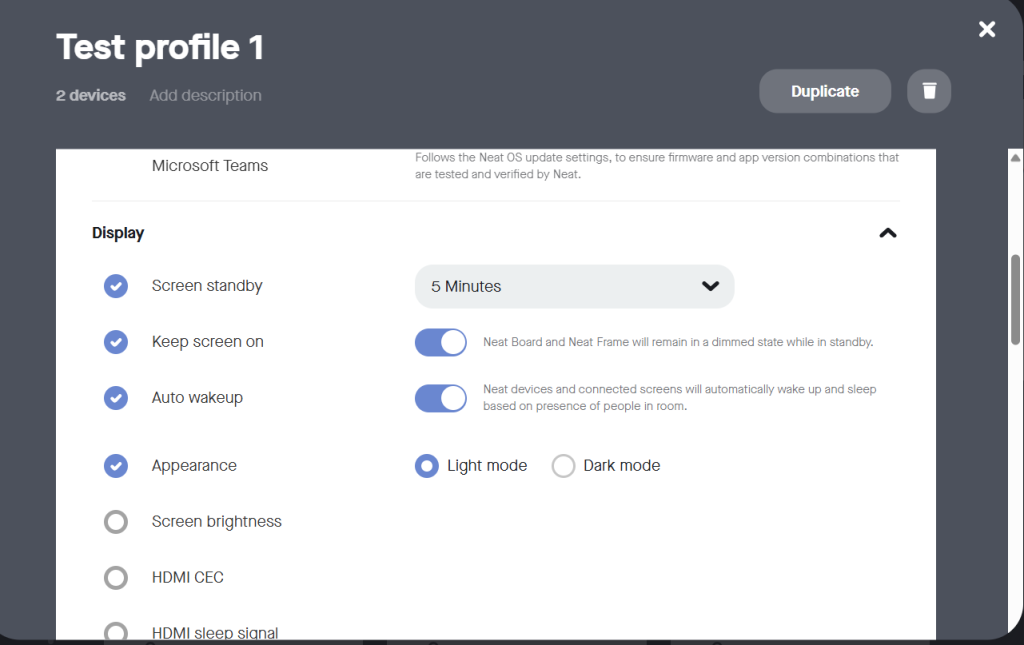
To edit or view a profile, go to the Profiles tab on the left-hand menu and open the specific profile. If devices have been assigned to this profile, it will show the total number just under the profile name. From here you can add a description to the profile, edit the profile settings, or duplicate to create another profile with the same settings (see Figure 4).
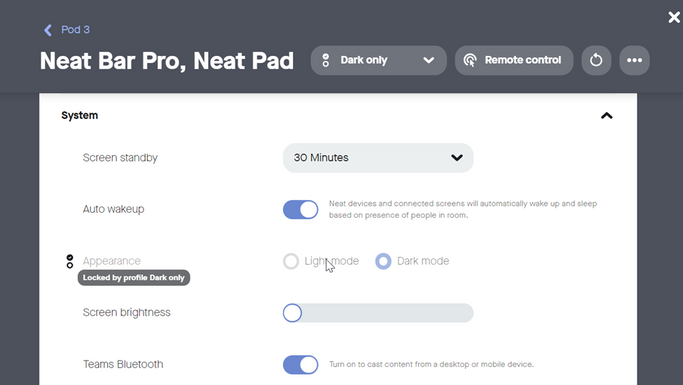
4. Locked by profile
It is important to note that once a Profile has been added to a device, you cannot alter the settings of that device from Neat Pulse as it will show as ‘locked by profile’. However, you can override the setting directly from the Neat device.
Figure 5 shows an example where the room ‘Pod 3’ has been assigned a profile called ‘Dark only’
If a setting has been manually overridden directly from the Neat device, the default setting on the profile may be restored easily using the ‘Restore profile setting’.
