Microsoft Teams and Neat System Settings
Last updated on August 18, 2025
Contents
- 1. Introduction
- 2. Microsoft vs Neat System Settings:
- 3. Accessing Microsoft Settings
- 4. Accessing Neat System Settings
1. Introduction
Broadly speaking, there are two parts to the software package:
- The Neat firmware, developed by the Neat team, controls all Neat specific features, settings and hardware elements of the device. Each Neat device runs its own type of Neat firmware (e.g. prefixed as ‘NFB1’ (Bar), ‘NFD1’ (Bar Pro), ‘NFA1’ (Pad) and ‘NFC1’ (Board)).
- The Microsoft Teams Room software, developed by Microsoft, controls all Teams specific features. Both Bar and Board run the same Microsoft Teams Room for Android (MTRoA) devices software, while Neat Pad runs either the Center of Room (CoR) console or Teams panel software.
2. Microsoft vs Neat System Settings:
In order to control the various aspects of their individual features and functionalities, the Neat devices provide access to both Microsoft Teams level system settings and Neat level system settings.
This article explains how Administrators of these rooms can access and configure various aspects of the meeting rooms, namely:
- Accessing Microsoft Teams System Settings (from the device and via Microsoft’s Teams Admin Center (TAC) web portal)
- Accessing Neat System Settings (from the device and via Neat’s web portal)
3. Accessing Microsoft Settings
3.1 Microsoft Teams settings on your device
On your Neat Pad or Neat Board, you will find the Microsoft Teams Settings under the More (…) option that will allow you to view/manage the settings for your Teams Room:
- Check Microsoft Teams Room version: More (…) -> Navigate to Settings -> About
- Change ringtones of Calls: More (…) -> Navigate to Settings -> Calls
- Change wallpapers of Neat devices: More (…) -> Navigate to Settings -> Wallpapers
- Sign out of your Microsoft account on your Neat devices: More (…) -> Navigate to Settings -> Sign out
- Reset device pairing and unpair devices at the Microsoft level: More (…) -> Navigate to Settings -> Device Pairing
3.2 Microsoft Teams settings via the Teams admin center (TAC)
Administrators can further update/change the Teams settings via TAC’s web portal.
You can do this at your organization’s account level or for each Teams Room.
- Sign in to the Teams admin center web portal as an admin with the privilege to edit account settings.
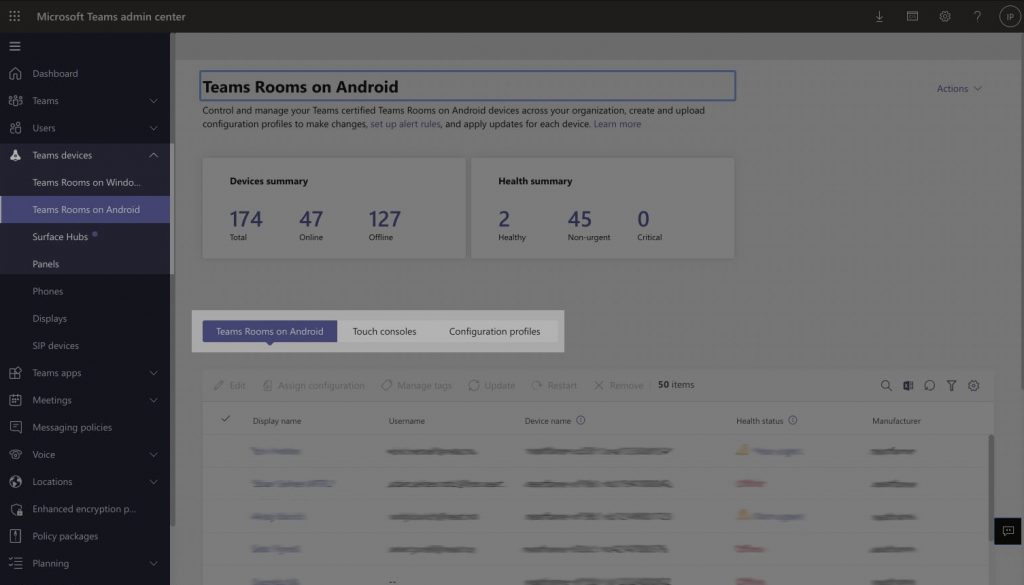
- In the navigation panel, click Teams devices then Teams Rooms on Android. Pads configured as Controllers will be found under Touch consoles and Pads configured as Panels will be found under Teams devices then Panels.
- Under configuration profiles you can configure room settings and then apply them to the Room of your choice. E.g. configure a device lock with Pin, Date/Time and Network settings.
4. Accessing Neat System Settings
4.1 Neat System Settings on your device
Once you have configured your Neat device (either after initial configuration or a factory reset) and leave the out-of-box (OOB) setup screen, your Neat device would launch Microsoft Teams software. However, at times, you may want to configure/edit/view certain aspects of your Neat firmware and enter the Neat-level System Settings.
To enter Neat’s System settings, you will need to do the following:
- Press More (…) on your Neat Pad or Neat Board.
- Navigate to Settings -> Scroll to Device Settings You will now have entered the Neat System Settings.
From here, you can do the following:
- Check the pairing status between your Neat Bar and Neat Pad (e.g. ‘Paired with Neat Bar’)
- Change text size and color correction of your devices: Navigate to Device Settings -> Accessibility
- Check/change time and language settings: Navigate to Device Settings -> Time & language
- Check the software version running on your device(s): Navigate to Device Settings -> System -> About
- Change between ‘stable’ and ‘preview’ channels: Navigate to Device Settings -> System -> Software Update -> Update channel
- Enable/disable ‘Auto wakeup feature’: Navigate to Device Settings -> System -> Auto wake up
- Configure the Pad’s indictor lights on the side: Device Settings -> System -> Room status indicator LEDs
- Enable/disable ‘Remote access’ feature: Navigate to Device Settings -> System -> Remote access
- Change Audio and Video settings, such as Music Mode and Maximum zoom preferences: Navigate to
Device Settings -> Audio & video - Configure Auto framing for your device before a meeting as well as Subject Boundary: Navigate to Device Settings -> Audio & video
- Factory reset or restart your Neat device: Navigate to Device Settings -> System -> Reset or Restart
4.1.2 Neat Admin system settings
Access to Neat’s Admin system settings is protected by a password. By default, this password is the last six digits of your Neat device’s serial number (e.g. if your Pad has a serial number of NA00000XXXXXX, then XXXXXX is the default password).
As of NeatOS 26.1, you will be forced to change the default Admin password when next accessing the Neat Settings locally on the device.
For more information, please see: Admin Password for Neat System Settings
Changing the Admin Settings
- Default = last six digits of serial number.
- Change under Signed in as admin → Change Password.
- Remote Access password ≠ Admin password.
Other options in Admin Settings
Under Admin Settings you can also:
- Toggle Bluetooth beaconing.
- View network details, including proxy configuration.
- Factory reset your default configurations or reboot device: Device settings -> Admin settings -> Password -> Debug
4.2 Neat System Settings via remote access
Neat’s Remote Access feature allows administrators to login to Neat’s web admin via a web browser and access/retrieve useful information.
Some of the key features available via the remote web admin are:
- Ability to download logs
- Ability to upload certificates
- Access Audio & Video settings
- Access Time and language settings
- Lock and change remote access passwords
To find out how to enable remote access and use these features, please see: https://support.neat.no/article/how-to-enable-remote-access-on-neat/