How to Enroll a Device in Neat Pulse
Last updated on February 2, 2026
This article is a step-by-step guide on how to enroll a device in Neat Pulse. Note that in this article Devices refers to all variants of Neat Bar/Pad/Board/Center/Frame.
Contents
Important Note: You can only use your device to access apps on Neat App Hub or use Google Meet* after you have enrolled your device on Neat Pulse.
*This is an initial requirement at GA.
Prerequisites
- Network requirements for Neat Pulse.
- Devices must be successfully connected to the network.
1. Create a new space in Neat Pulse
- Login to your organization’s Neat Pulse portal through https://pulse.neat.no
- On the Devices page, press Add devices at the top of the page.

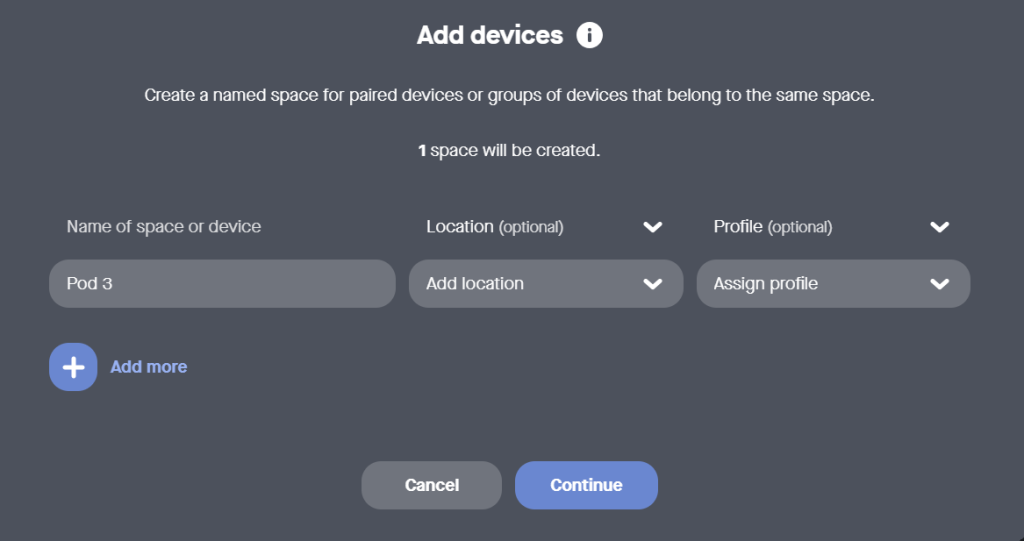
- On the resulting Add devices pop-up, enter a name of your choice for the space or device. You also have the option to specify a location or assign a profile to your device from the drop-down menus. In this example we are calling our space “Pod 3”. Click Continue.
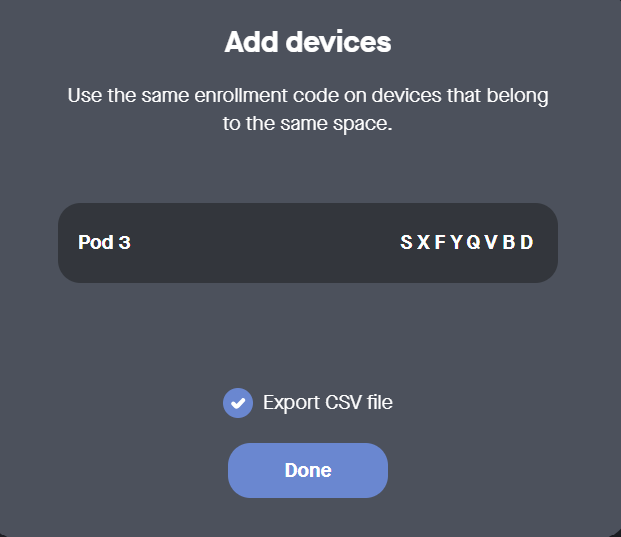
- Neat Pulse will generate an enrollment code. Click Done.
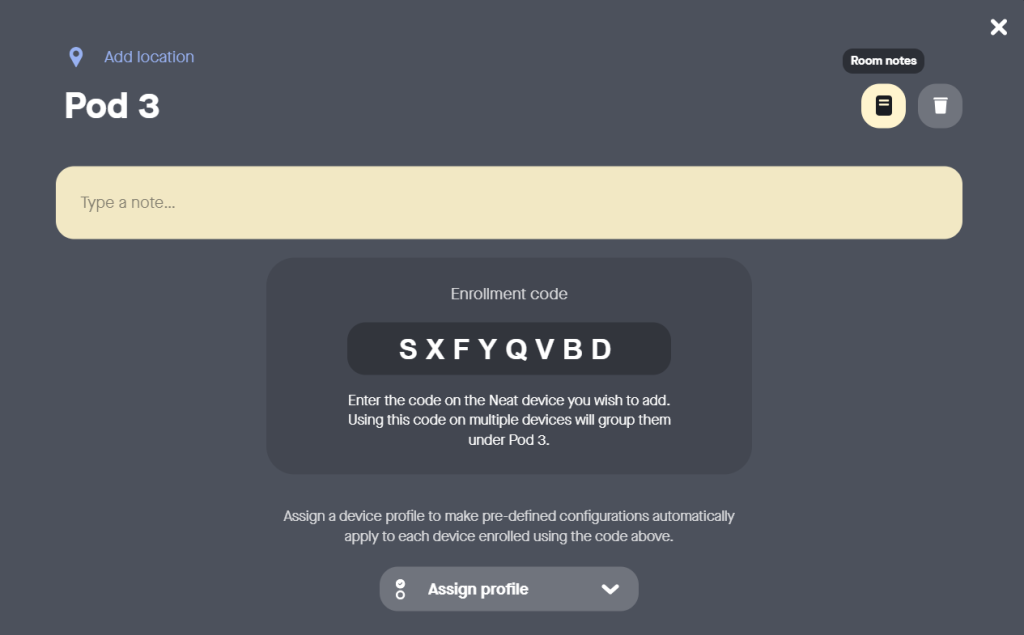
- Your new space is now created in Pulse. You can alter the location of the space, change its name, add room notes, assign a profile, or delete the space.
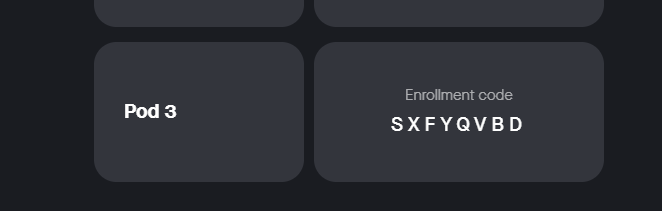
- Click the ‘Close’ icon to return to the Devices page. You will see that the space has been created successfully and the enrollment code appears as a placeholder for the device(s).
2. Add/enroll a device to Pulse
Once you have created a space in Pulse you can add device(s) to this space using the enrollment code. Use this code to enroll either:
- During the out-of-box/after factory reset configuration of your device, enter the enrollment code when prompted on the Neat Pulse enrollment page. When enrollment is complete, the device screen will show that the device is added to Pulse. Click Continue. (For more info, see the How to Set Up article for your particular device.)
Or - After OOB setup, go to Settings > General > System settings > Add to Neat Pulse on your Neat device user interface, as detailed below.
- On your Neat device, go to System Settings and select Add to Neat Pulse to bring up the enrollment screen.
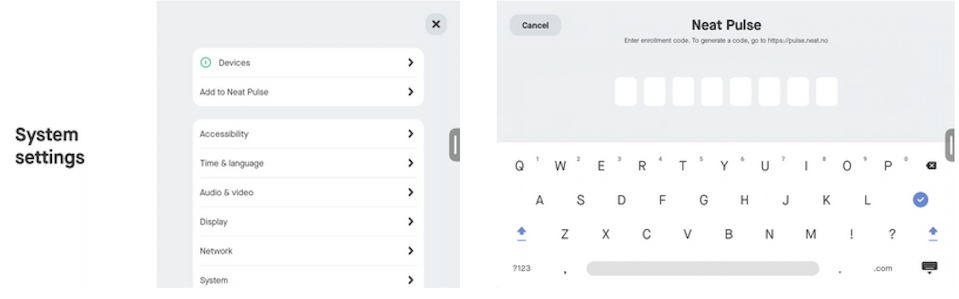
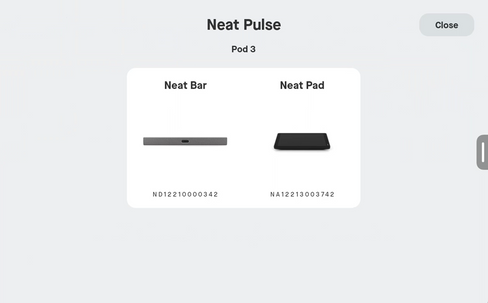
- Enter the enrollment code generated in Pulse into your Neat device. Once done, you should see the device (or paired devices) successfully enrolled into Neat Pulse.
- (Optional) If you wish to change the ‘Remote Control’ setting on the device, go to System Settings > Neat Pulse > Remote control and select one of the following options: Allowed, Allowed with confirmation, Not allowed. For more info, see the article How to use Remote Control.
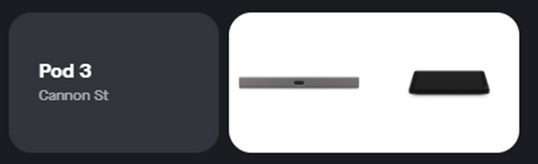
- Once completed, Neat Pulse will display the enrolled devices instead of the enrollment code on the Devices page. The white background indicates that the devices are online.
Your device (or paired devices) are now ready to be monitored and managed from Neat Pulse. You can now click on the image of the picture to bring up the Device settings to change/view options, use Remote Control or Send Feedback to Neat Technical support team.