How to set up Zoom Workplace Reservation/Hot Desk on Neat Frame
Last updated July 31, 2025
Hot Desk/ Workspace Reservation mode allows you to put Neat Frame in a common area, which allows end-users to freely book the device and use it as a Personal Zoom Room for the duration of their booking.
This article walks through the basics of this feature and how you can set it up on Neat Frame!
Contents
- Prerequisites
- Step 1. Setting up Zoom Room – Hot desk
- Step 2. Setting up Neat Frame and signing in
- Step 3. Using Hotdesk on Neat Frame
Prerequisites
- Requires a Zoom Room license. For more information please see Zoom Room licensing
- Be running Zoom Rooms 5.12.0 or higher on Neat Frame
- For more information see Zoom’s Using Workspace Reservation for Zoom Rooms article
Step 1. Setting up Zoom Room – Hot desk
- Ensure you have a Zoom Room license available for use and have set up a floor plan for the specific floor you’d like to deploy the room
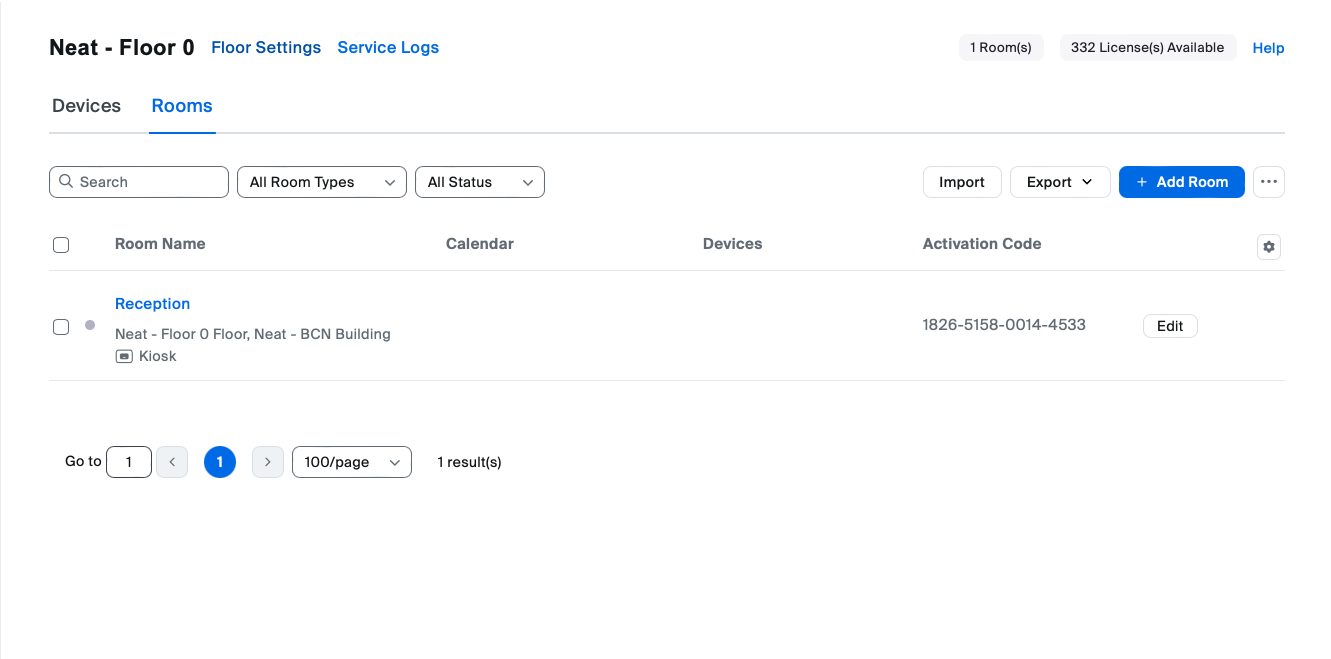
- Navigate to the floor you’d like to add a Hot Desk Room to in the Zoom Room’s hierarchy and click “+ Add Room”
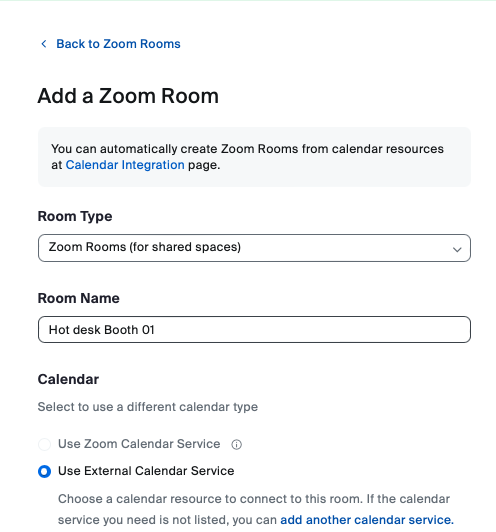
- Select the “Zoom Room – (for shared spaces)” option from the Room Type drop-down menu, enter a room name, add a calendar resource, then select Finish.
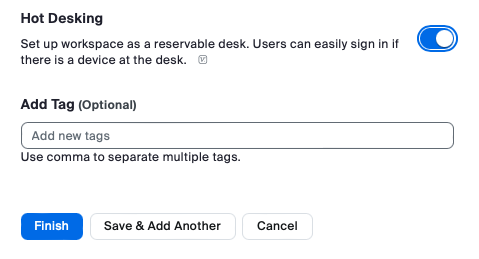
- Enable the toggle for Hot Desking then select Finish!
Step 2. Setting up Neat Frame and signing in
- Go through the Out-of-box process on Neat Frame and launch Zoom as your chosen platform: How to set up Neat Frame
- Sign in to the Zoom Room set up as a Kiosk on your Neat Frame and enjoy!
Step 3. Using Hotdesk on Neat Frame
3.1 Reserving the Room
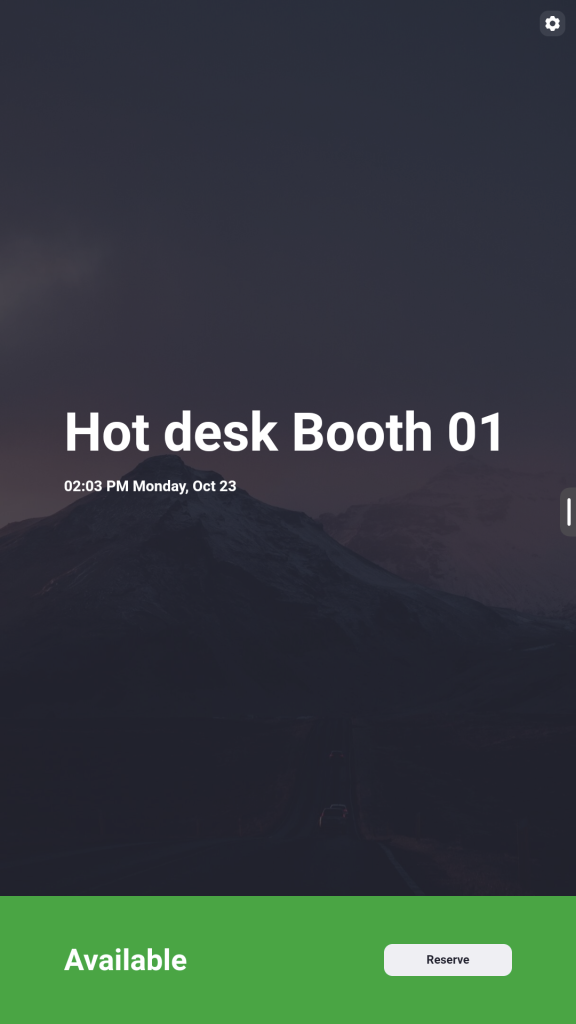
The room can be booked/reserved via the normal calendar method of booking a room with Google Calendar/Outlook or directly via the display screen as shown below:
- On the Neat Frame press “Reserve” at the bottom right of the screen.
- Select the time and duration of the session and press “next”.
- Either: Scan the QR code via Zoom App/Camera App on your mobile or Enter your email
- ON you mobile Zoom App you can access : Settings > Scan QR Code then confirm you want to book the room
- Click “Reserve” on your mobile device.


Checking In
- On the Neat Frame, scan the QR Code with your Zoom App/Camera App and approve the prompt to check in on your mobile device.
- Enjoy Zoom Meetings on your Frame with your calendar synced!


