How to set up Zoom Virtual Kiosk/Virtual Receptionist on Neat Frame
Last updated July 31, 2025
Kiosk Mode allows you to add a number of different actions to a Zoom Room for Touch, including calling a receptionist and other individuals in your organization with one touch, or quickly booking another room in the building.
As of Zoom Room version 5.9, Zoom introduced a new feature that allows companies to leverage a virtual receptionist experience. This article walks through the basics of this feature and how you can set it up on Neat Frame!
Contents
Prerequisites
- Requires a Zoom Room license. For more information please see Zoom Room licensing
- Be running Zoom Rooms 5.12.0 or higher on Neat Frame
- For more information see Zoom’s Virtual Kiosk / Virtual Receptionist article
Step 1. Setting up Zoom Room – Kiosk
- Ensure you have a Zoom Room license available for use and have set up a floor plan for the specific floor you’d like to deploy the room.
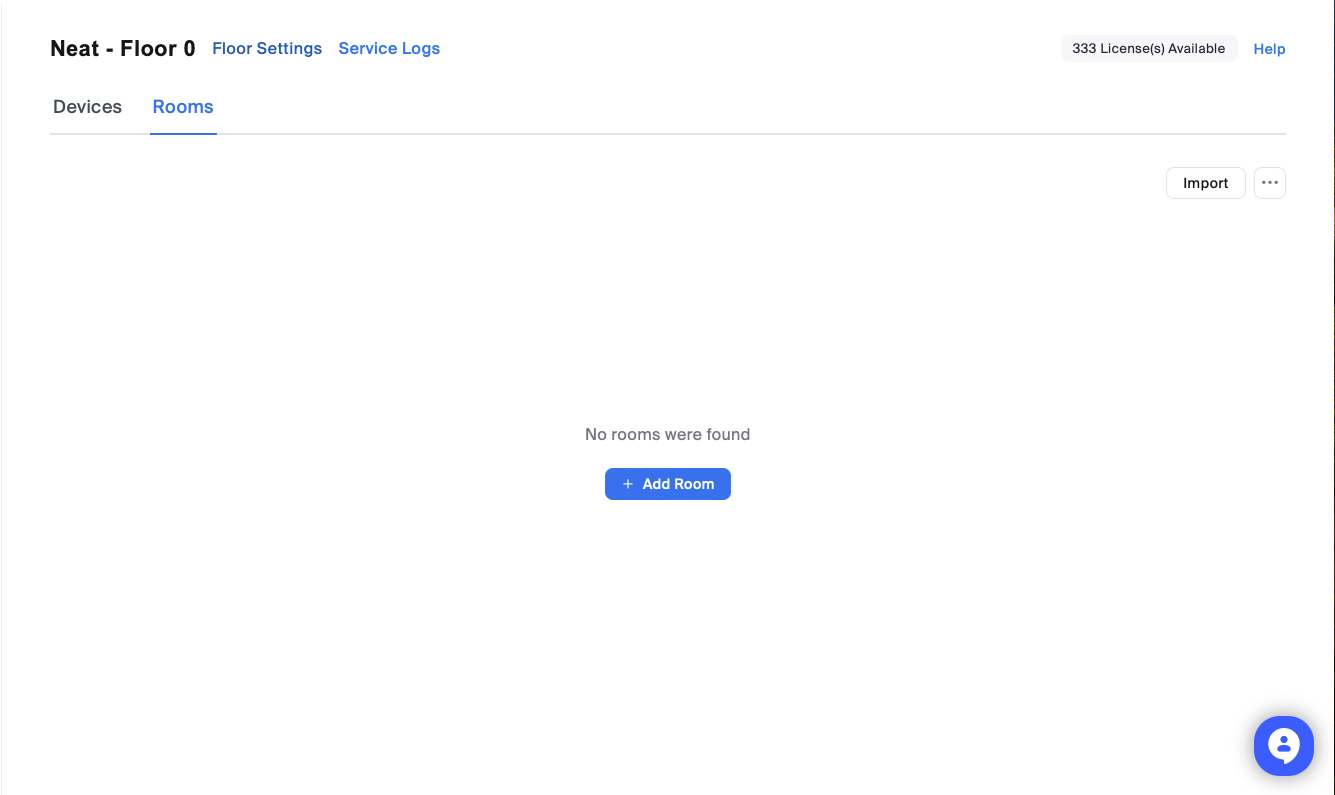
- Add Room and Select the “Kiosk” Option from the Room Type drop-down menu, enter a room name, and then select “Finish”
- Navigate to the “Room settings” for the room you just created and press the “Kiosk” tab which will display the following:
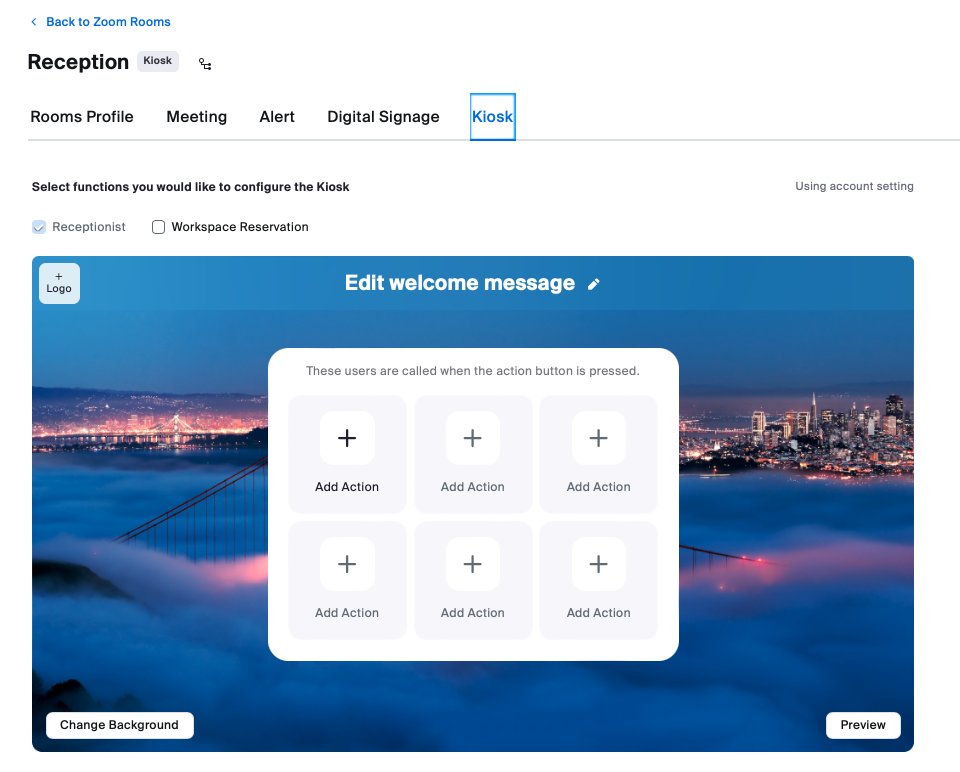
- From here you can do the following:
- Enable Receptionist – This allows you to have guests call an individual in your account who has been designated as your receptionist
- Add logo, welcome message, and change the background
- and much more: How to edit a Virtual Receptionist Kiosk

Step 2. Setting up Neat Frame and signing in
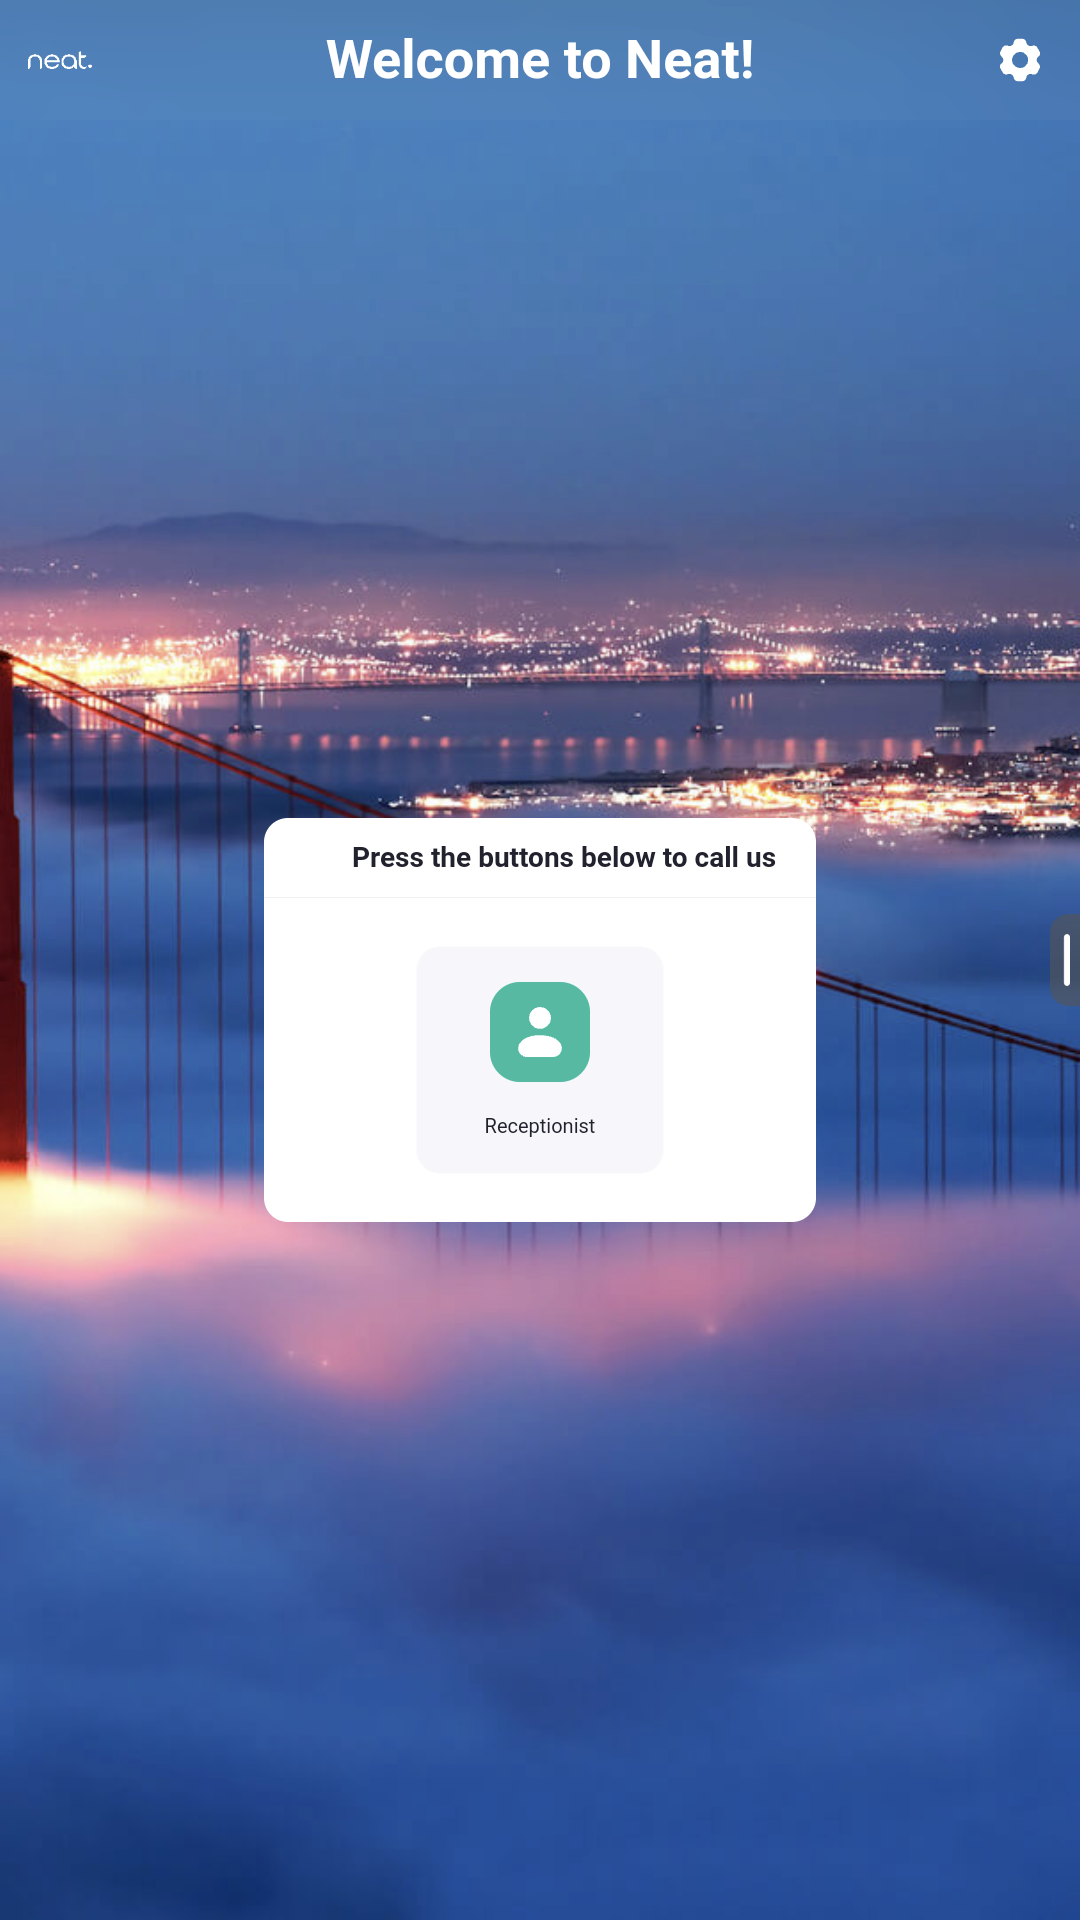
- Go through the Out-of-box process on Neat Frame and launch Zoom as your chosen platform: How to set up Neat Frame
- Sign in to the Zoom Room set up as a Kiosk on your Neat Frame and enjoy!