How to Use Remote Control in Neat Pulse
Last updated March 10, 2026
Neat Pulse makes it easy to manage your Neat devices from anywhere. With remote control, you can access and control your devices as if you were right there in the room.
Contents
1. Accessing remote control
To use the remote control feature, you will need an active Neat Pulse organization. The device you want to control must be enrolled in your Neat Pulse organization, marked as online, and have remote control allowed on the device.
Neat Pulse owners can use the remote control feature on any device in their organization. Admins can use it on devices within their assigned region.
For more information on:
- Managing and configuring devices, see the article How to Manage and Configure Devices in Neat Pulse.
- User types, see the article Manage Users and Roles in Neat Pulse
2. Using remote control
To use remote control, click a device’s icon on the Devices page — the option is displayed on the resulting device pop-up (Figure 1).
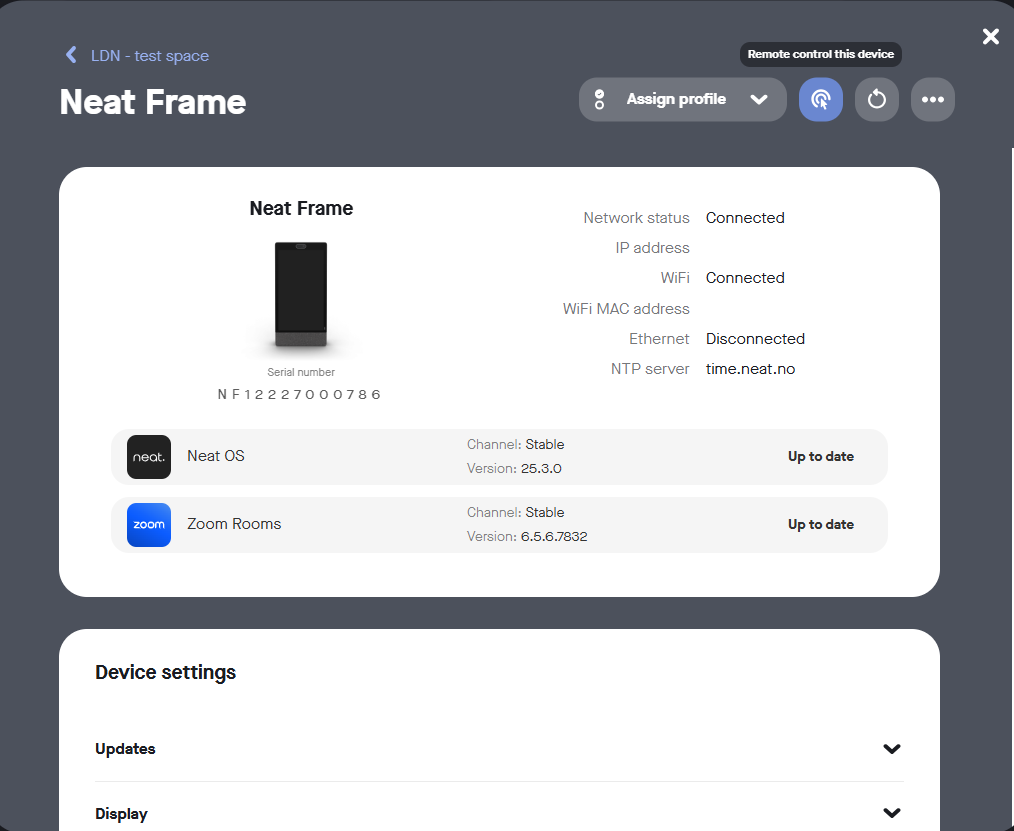
To start a remote control session, click the Remote control icon. A new browser window will open, initiating a remote control session.
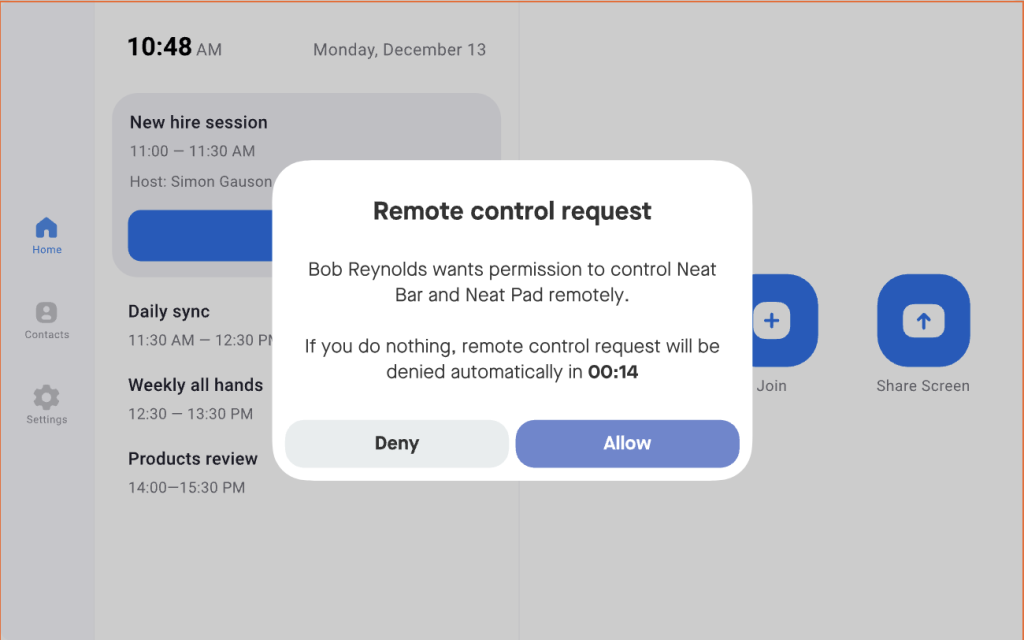
Once you start a remote control session, the device will show a message giving the user 15 seconds to accept or decline the request for remote control.
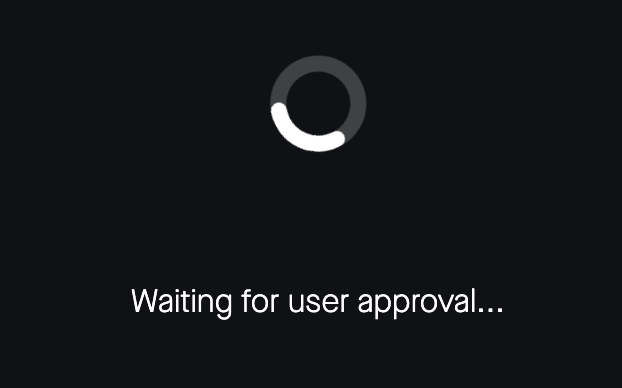
If the user declines your request, you’ll see a message saying the request was rejected. If they accept — or don’t respond in time — the session will start automatically.
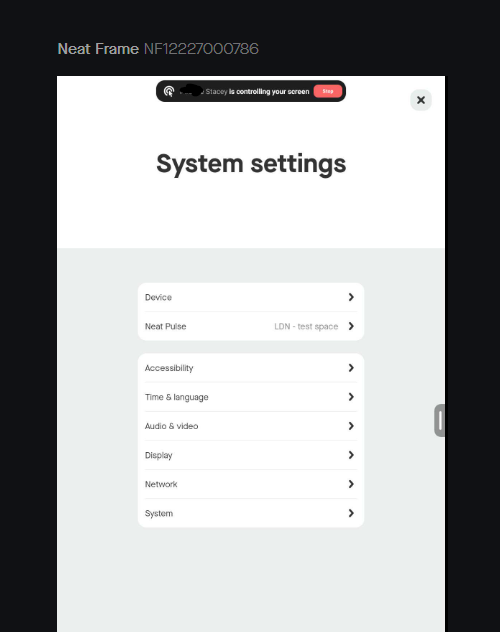
While you’re in a remote control session, the device screen is mirrored into your browser window so you can interact with the device.
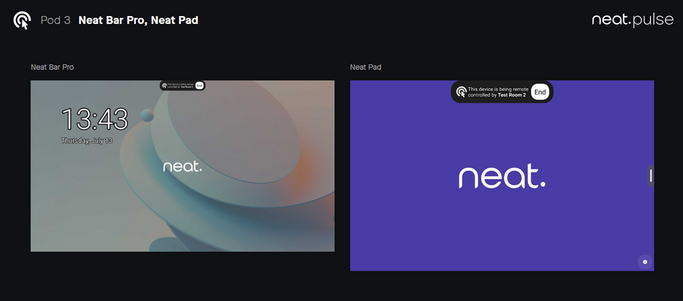
If two Neat devices are paired together, the remote control feature allows you to control both devices at once.
3. Disabling remote control
After your Neat device has been set up and enrolled in Neat Pulse, you can select whether or not you want to allow remote control on your device from the Neat Pulse menu in the device’s system settings. Go to Settings -> Device settings -> Neat Pulse -> Remote control.
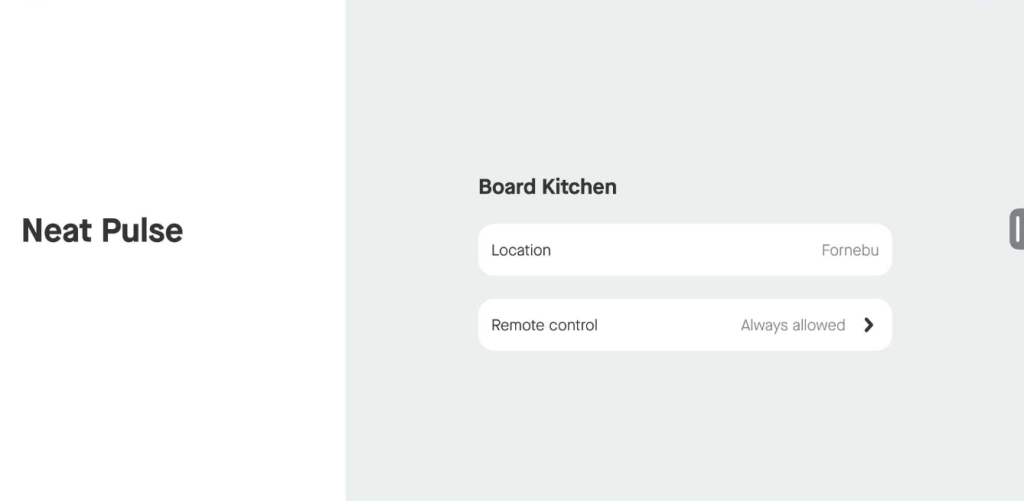
When a remote control request is made, the Neat device will respond based on its configured permission setting.
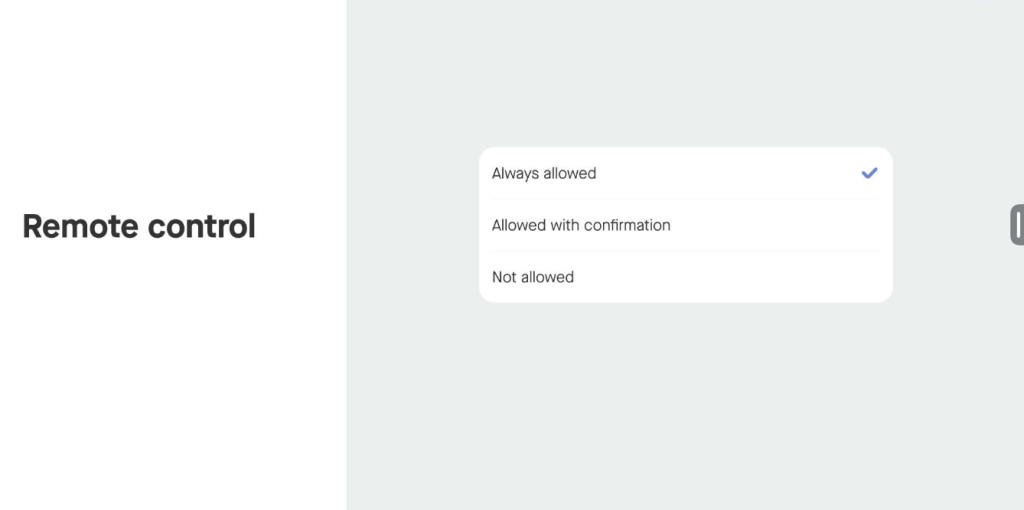
You can choose from three remote control permission settings:
- Always allowed: Remote control sessions are automatically accepted without user intervention.
- Allowed with confirmation: Remote control requests must be manually approved by someone present in the room. If no action is taken, the request is automatically denied after 15 seconds.
- Not allowed: Remote control requests are blocked entirely.
By default, devices are set to Always allowed, however, administrators can modify this setting to enhance security and better match organizational policies.
When remote control is set to Not allowed on the device, Neat Pulse users will see a message pop-up that says Remote control has been disabled on the endpoint when hovering their mouse over the remote control option (see Figure 8).
Note: If remote control is disallowed during an active session, the session will continue until manually terminated by the user. Subsequent remote control attempts will be blocked as expected.
