Getting Started with Neat Pulse
Last updated on March 10, 2026
Neat Pulse is a cloud-based platform that helps you manage and monitor your Neat devices. It lets you update Neat firmware-specific settings, control devices remotely, and view live environmental data and logs. Neat Pulse provides a Neat-level view that is not available through either Zoom’s ZDM or Microsoft’s TAC platforms.
In this article we give a brief introduction to each of the features of Neat Pulse, and link to an article that provides more information about the feature. In this article Device refers to all variants of Neat Bar/Pad/Board/Center/Frame.
Note: For videos to help you familiarize yourself with the Pulse Management Platform, see Neat Pulse Video Resources.
Contents
- 1. Requirements for using Neat Pulse
- 2. Creating a Neat Pulse organization (Self-Sign-Up)
- 3. Sign in to Neat Pulse
- 4. Devices, Spaces, and Profiles
- 5. Enroll a device in Neat Pulse
- 6. Users: Owners vs. Admins
- 7. Settings
- 8. Audit logs
- 9. Organizations
- 10. Filters
- 11. Troubleshooting from Neat Pulse
1. Requirements for using Neat Pulse
Before you can enroll and manage your Neat device in Neat Pulse you need to:
- Check you are running a supported version of NeatOS on your devices.
- Check Network requirements for Neat Pulse are met.
- Devices must be successfully connected to the network.
2. Creating a Neat Pulse organization (Self-Sign-Up)
New users can now create their own organizations with our self-sign-up method.
Before you begin
- Check if your company already has an organization. If your team already uses Neat Pulse, ask a teammate or IT for an invite. You can only create a new organization if you are not already a member of one.
- Use your work email address. This ensures your organization is correctly linked to your company’s plan.
- Organization verification. Self-created organizations start at the free Starter level. To access paid features, your organization must be verified and linked to your company’s subscription.
How to sign up
- Go to pulse.neat.no.
- On the login page, select Sign up in the top right-hand corner.
- Enter the company email address you’d like to link to your Neat Pulse organization.
- Follow the on-screen instructions.
3. Sign in to Neat Pulse
Once you have a Neat Pulse organization, you can sign in at pulse.neat.no.
- If your company already has a Neat Pulse plan (Starter, Plus, or Pro), Neat sets up the organization and creates the first Owner (we’ll explain Owners later under Users). Owners can then invite additional users. If you’re invited, you’ll receive an email with a link to log in using the method linked to your organization.
- If you created your own organization through self-sign-up, simply sign in using the same method you chose during sign-up (Google, Microsoft, SSO, or email/password).
Note: Always sign in with the same login method you used when your organization was first created.
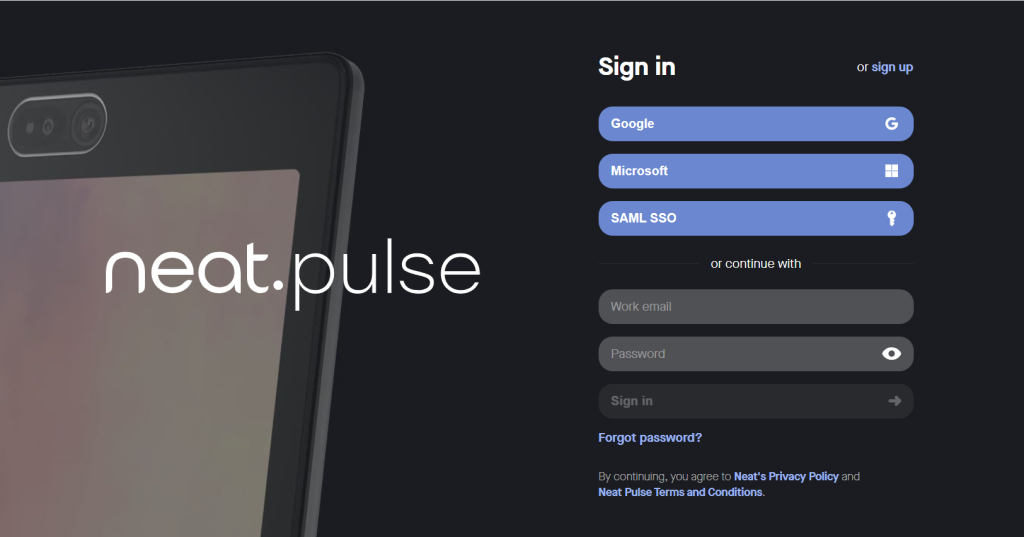
3.1 Sign-in methods
The various ways you can sign in to Pulse are listed below and shown in Figure 1.
- Google Account
- Microsoft Account (Active Directory accounts only, not personal Outlook.com accounts)
- SAML SSO (for more info, see the article Configuring SAML SSO for Neat Pulse)
- Email address and password
4. Devices, Spaces, and Profiles
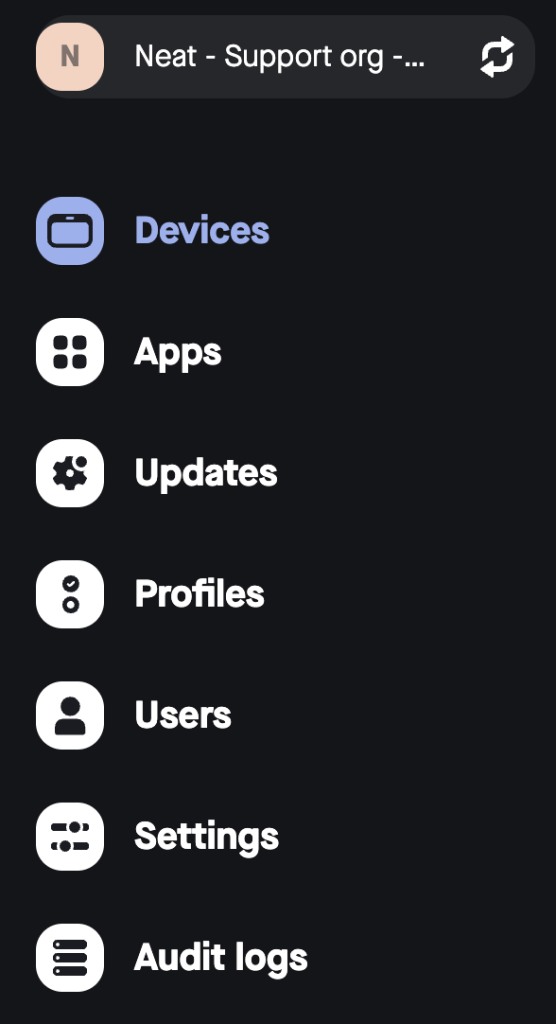
When you log in to Neat Pulse, you will land on the Devices page. Here, you will see all the Neat devices currently managed by Neat Pulse. The Devices page is also where you Add devices and create new spaces.
For more information on managing and configuring you devices, see the article How to Manage and Configure Devices in Neat Pulse.
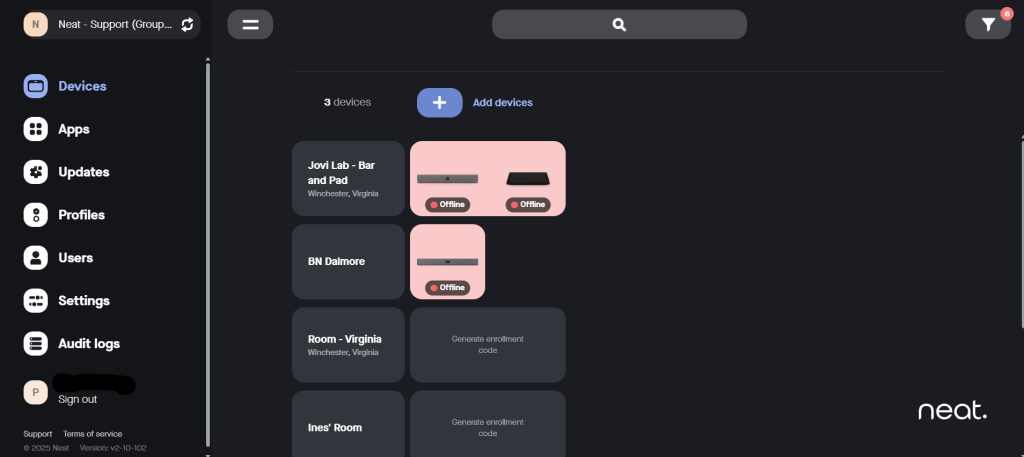
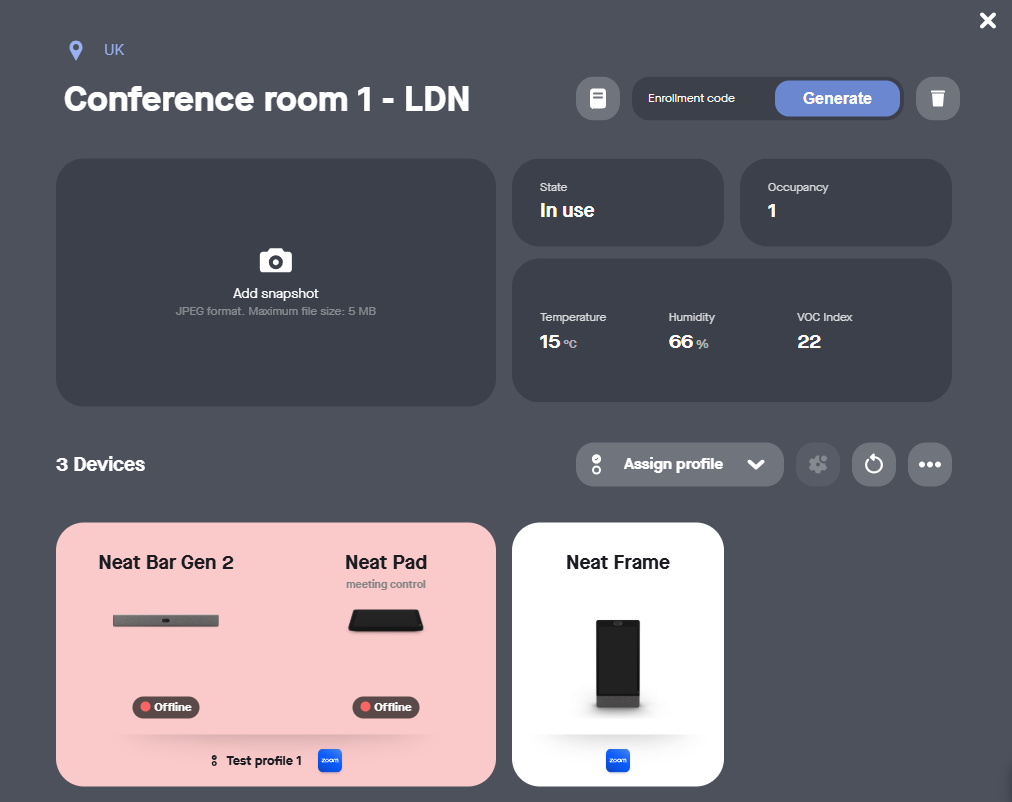
Neat Pulse groups all devices into Spaces. A Space is a way to organize and group your Neat devices based on where they are physically or how they are used.
- A space might represent a real-world space, such as “Conference Room A” or “Huddle Room 2”.
- It can contain one or more Neat devices (for example, a Neat Bar and a Neat Pad working together).
- Each space can have its own settings, or you can group multiple spaces to share the same settings by assigning them a common Profile. You can also organize spaces by Region or Location to make them easier to manage within your organization.
For more information on creating and applying profiles, see the article How to Create and Apply Profiles in Neat Pulse.
5. Enroll a device in Neat Pulse
Before you can enroll and manage your Neat device in Neat Pulse, check these prerequisites:
- Network requirements for Neat Pulse.
- Devices must be successfully connected to the network.
To add your device to an existing space, simply open that space and generate an enrollment code to enter on your device to trigger its enrollment so it is added to that space in Pulse.
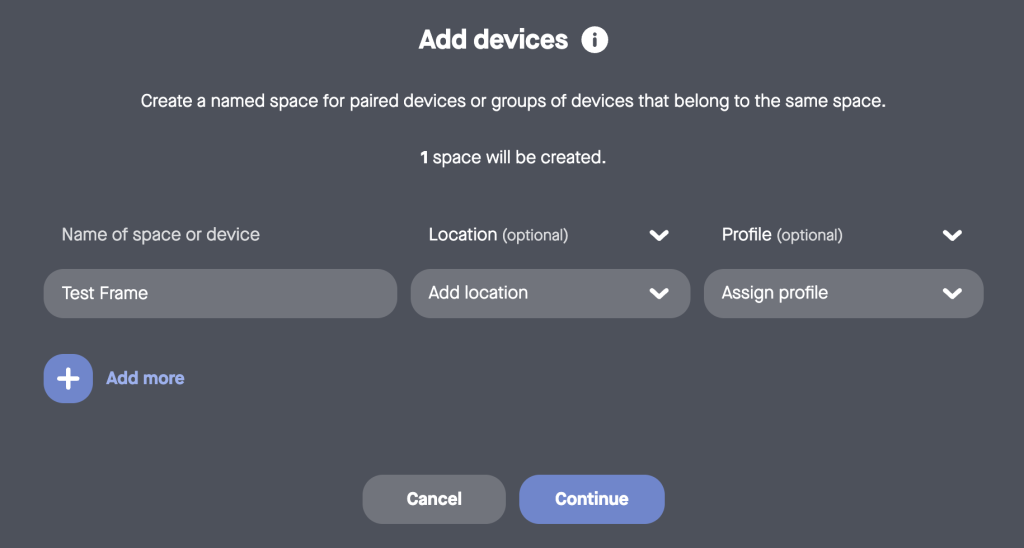
To create a new space to add your device to, click on Add devices on the Device page to enter the name of the space you want to create and add your devices to.
For full details on creating a new space and enrolling a device, see the article How to Enroll a Device in Neat Pulse.
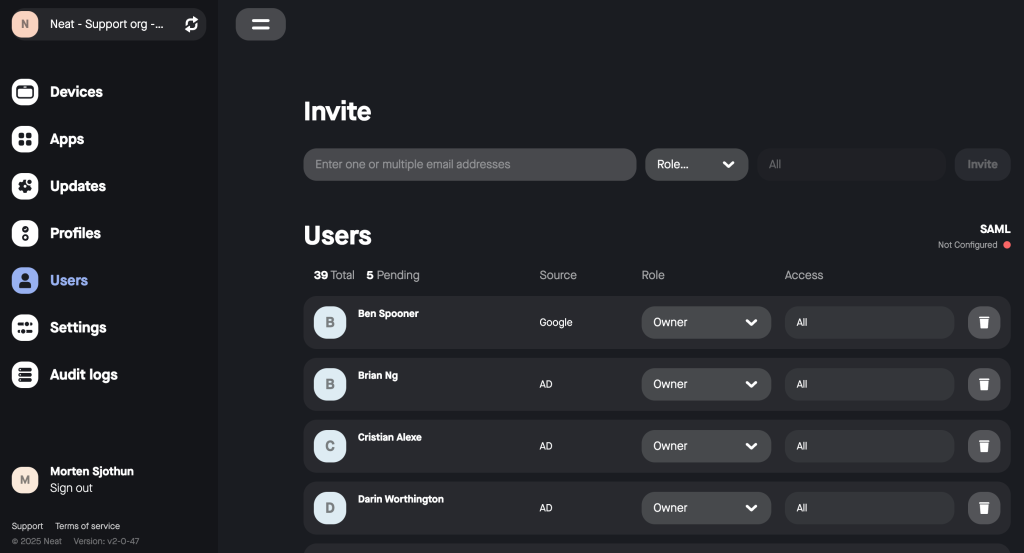
6. Users: Owners vs. Admins
Neat Pulse is administered by users. There are two user types:
- Owner: Owners have access to all settings in all organizations. There can be multiple owners by organization.
- Admin: Access for admins is restricted to specific regions. Admins can only administer endpoints within these regions and cannot edit profiles. They cannot add users or edit organization settings.
For full details on Users and their permissions and more, see the article Manage Users and Roles in Neat Pulse.
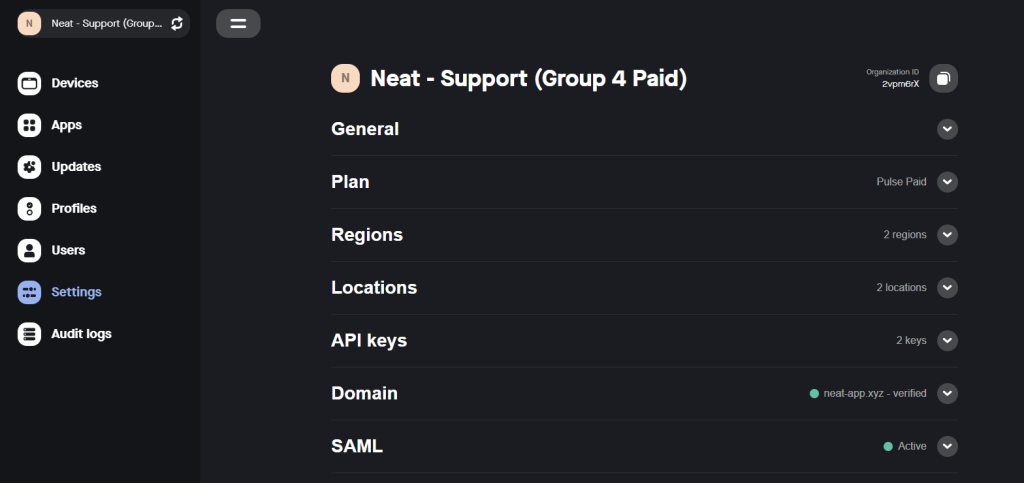
7. Settings
Depending on your User type and Pulse plan, the Settings section allows you to:
- Update the organization name
- Check which Neat Pulse plan you’re on
- View all your licenses and how many devices are enrolled
- Enroll more devices
- View and add regions and locations to help organize and view specific Neat devices
- Create and manage API keys
- Verify your organization’s domain
- Set up SAML and Single Sign-On for streamlined access
For full details on using Neat Pulse Settings, see the article Manage Your Settings in Neat Pulse.
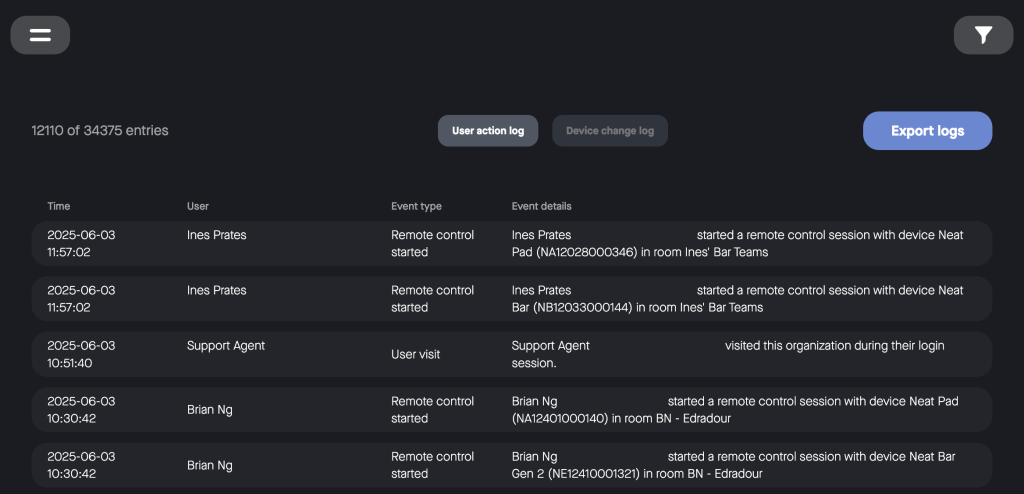
8. Audit logs
Audit logs are used for monitoring the actions taken within Neat Pulse. The Audit log page allows the logs to be filtered either by User action log or Device change log.
Use the advanced filter icon in the top right-hand corner to narrow down the displayed entries by Date, User, or by Event type.
The Export logs button will download a .csv file containing the full log.
For more information on using audit logs, see the article Audit Logs on Neat Pulse.
9. Organizations
There is no limit to the number of organizations a user can be added to in Neat Pulse. Moving from one organization to another does not require signing in/out.
To view a list of organizations that you are a part of, click on your current organization name in the top left-hand menu.
In this example, clicking on Neat – Support org will take you to the Organization view page where you can view all the organizations that you are a member of in Neat Pulse.
For more information on organization, see the article Organizations on Neat Pulse.
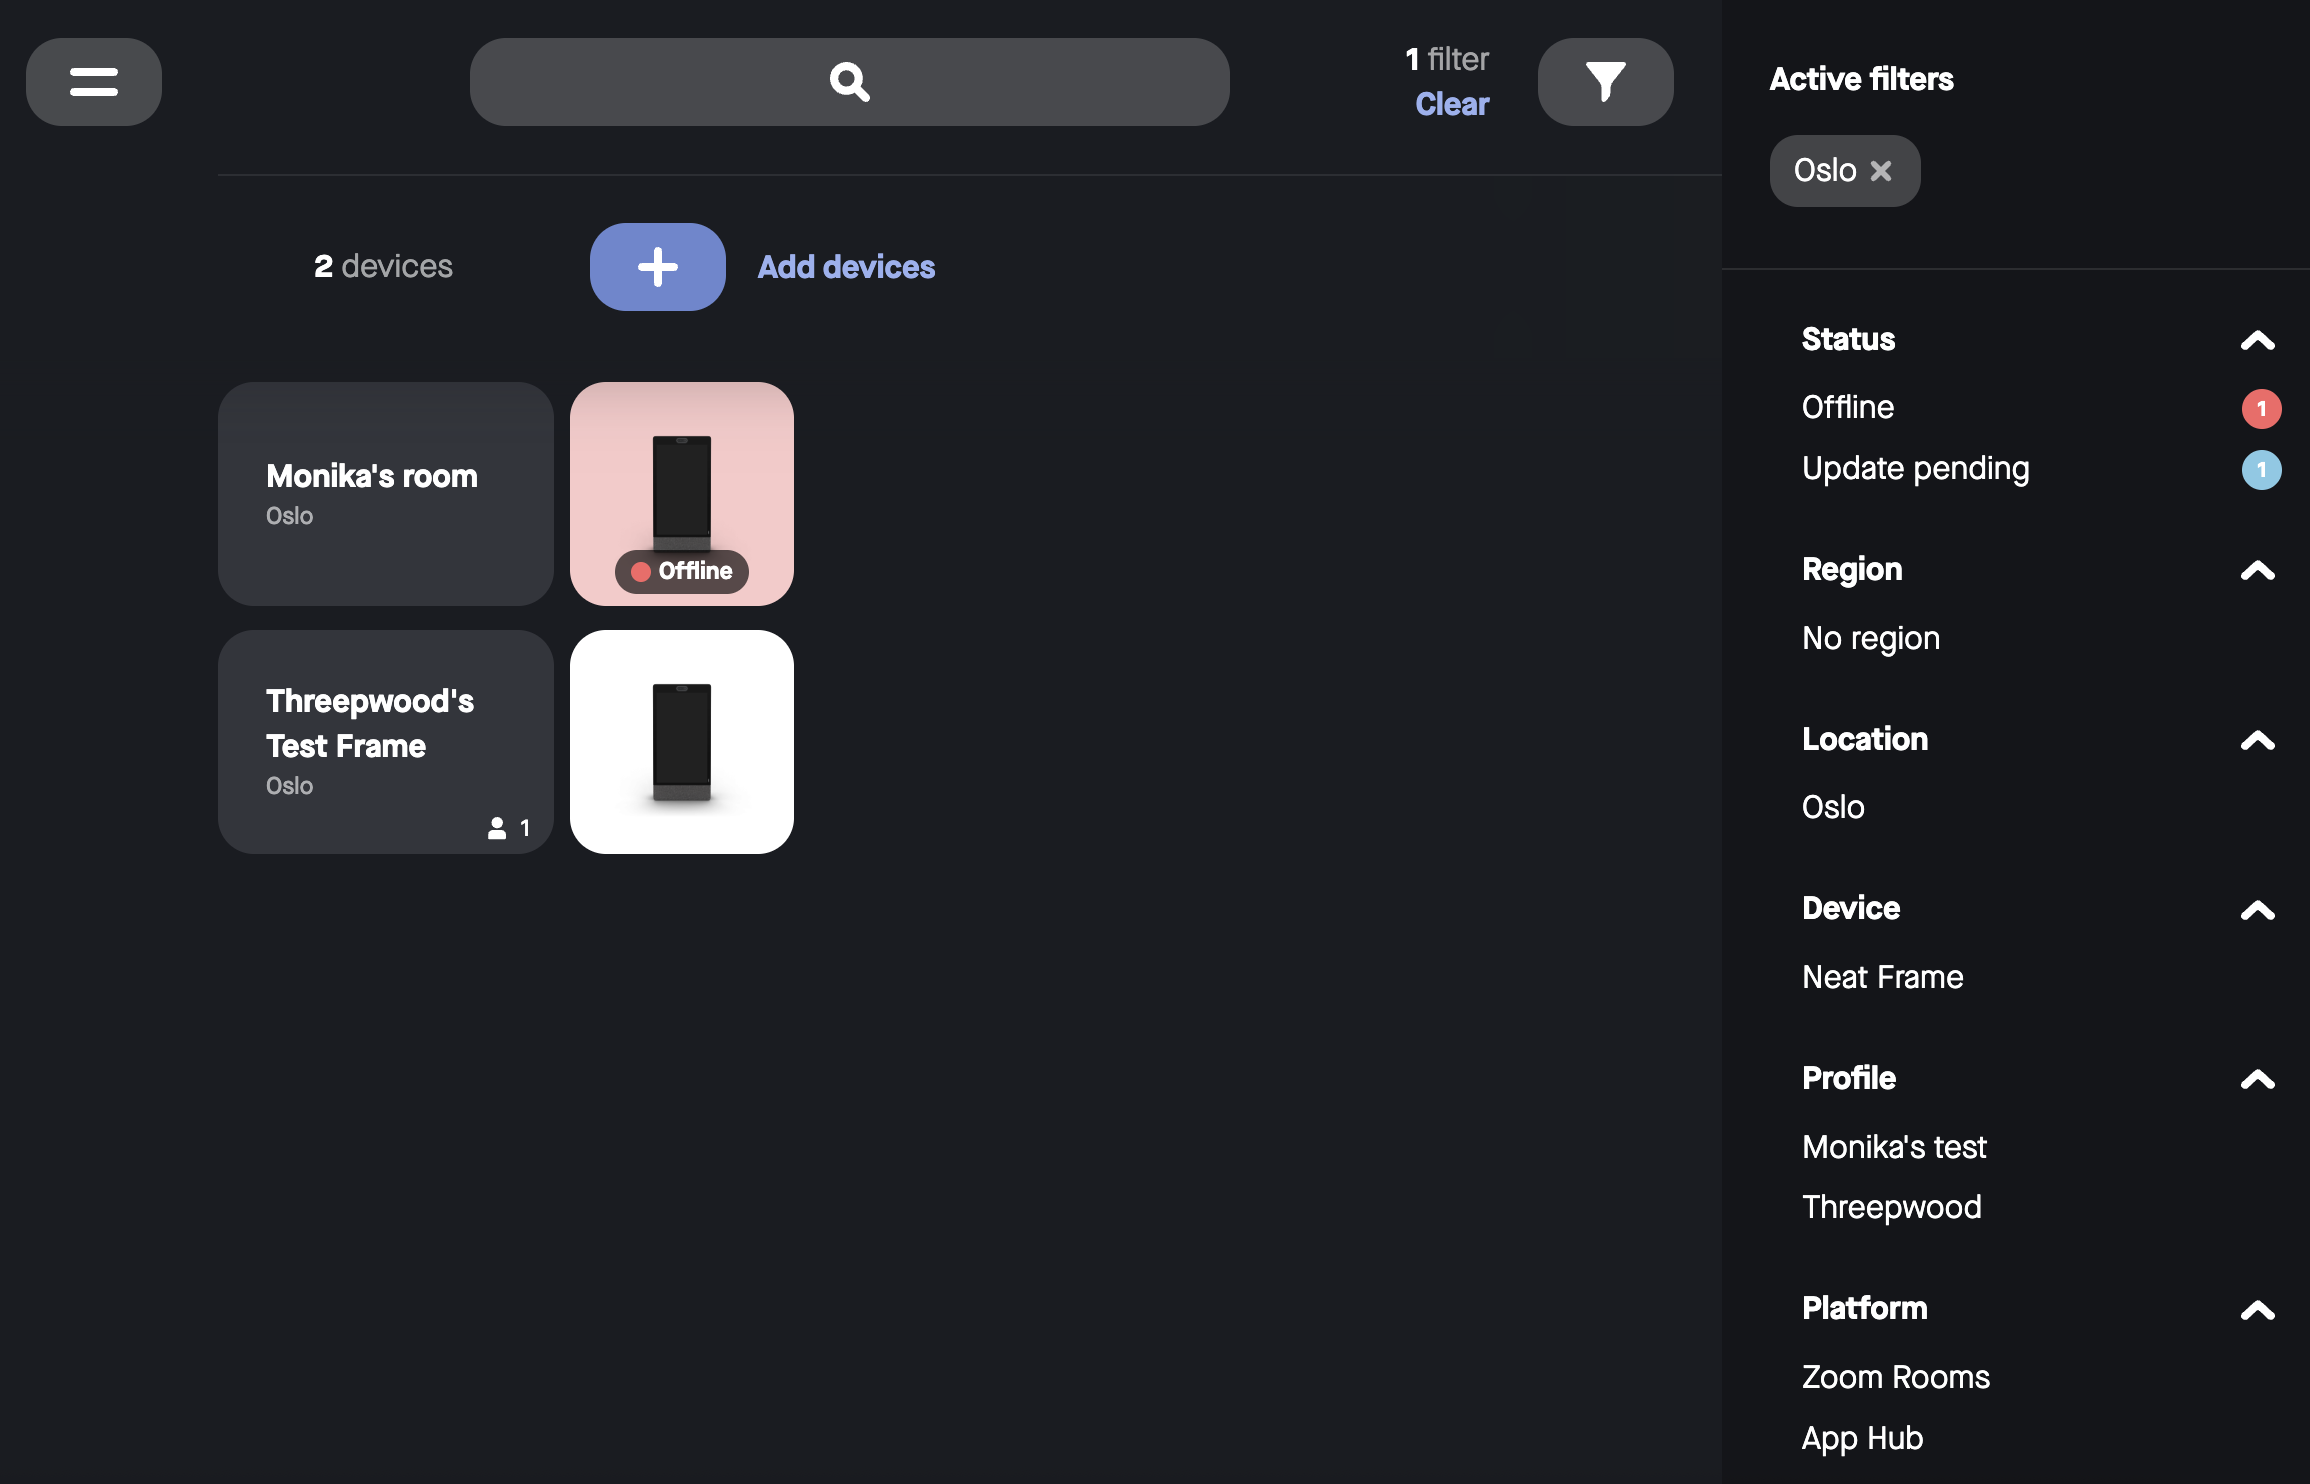
10. Filters
Filters allow an easy way to only view the rooms (Devices page) or log entries (Audit logs page) that you are interested in. It can be accessed from the top-right of the screen and you are presented with various options pertaining to that area. For example, on Devices page, Neat Pulse allows you to filter based on Status/Device/Profile/Region/Location, whereas on Audit Logs page, it allows you to filter based on Date/User/Event-type.
11. Troubleshooting from Neat Pulse
Neat Pulse provides a centralized platform to manage and monitor all of your Neat devices in your organizations. This is beneficial if you are trying to remotely troubleshoot an issue that a Neat device user may have reported to you.
11.1 Remote Control
The Remote Control feature allows you to start a remote session with a Neat device to allow you to view, manage, update a Neat device from your web browser. Paired devices will allow for remote control of both devices at the same time.
For more information on remote control, see the article How to Use Remote Control in Neat Pulse.
11.2 Open support ticket
You can also obtain logs directly from the Neat devices that are active in Neat Pulse. This is useful if you are trying to troubleshoot a problem and want to send a problem report to the Neat technical support team.
For more information on opening a support ticket and downloading logs in Pulse, see the article How to download logs.